Picture this: I’m standing in my kitchen, a mound of overripe strawberries in my hand, and a friend daring me to turn them into something that looks like a holiday decoration but tastes like a dessert. The room smelled of citrus and fresh sugar, the clatter of pans echoing like applause, and my heart was racing because I knew I was about to break the mold. I had always thought a strawberry tree was a whimsical, edible centerpiece for a garden party, not a festive treat that could be served at the dinner table. But I’m a foodie who loves a good challenge, and I couldn’t resist the temptation to make a version that would wow my guests and leave them craving seconds. I decided to blend the classic idea of a strawberry tree with a buttery, flaky crust and a glossy glaze that would make it sparkle like holiday lights. The result? A bite‑sized, tree‑shaped confection that feels like a holiday miracle in every bite.
First, I arranged the strawberries into a perfect cone, each berry a leaf that glimmered in the kitchen light. The air filled with a sweet, almost caramelized aroma as the dough baked, the butter releasing a rich, nutty scent that mingled with the fruit. When I lifted the tree from the oven, the golden crust crackled like fresh snow, and the steam rose in delicate clouds. The texture was a delightful contrast: a crisp, buttery shell that gave way to a soft, juicy interior bursting with berries. The first bite was a symphony of flavors—sweet, tart, and buttery—all wrapped in a delicate, flaky skin that felt like a holiday ribbon. I could almost hear the applause from the guests who would taste it.
This version takes the humble strawberry tree to a new level by infusing it with a subtle lemon zest that brightens the sweetness, a splash of vanilla that adds depth, and a drizzle of honey glaze that gives it a glossy finish. I used a blend of almond and all‑purpose flour to create a tender, slightly nutty crust that holds the berries without becoming heavy. The dough is pre‑rolled into a thin sheet, then carefully folded around the berries, creating a tree trunk that looks elegant but is surprisingly sturdy. The glaze, made from powdered sugar, lemon juice, and a touch of honey, coats each leaf with a shine that catches the light like a Christmas ornament. Most importantly, the recipe is simple enough to be made in under an hour, yet it feels luxurious enough to be served at any holiday gathering. I dare you to taste this and not go back for seconds.
One trick that makes all the difference is the way I treat the dough before baking—rolling it thinly and letting it rest in the fridge for a few minutes to lock in the butter and prevent shrinkage. Another secret is the use of fresh strawberries, not frozen, because they hold their shape and release just enough juice to keep the tree moist without becoming soggy. I also sprinkled a pinch of sea salt on top before glazing, which balances the sweetness and brings out the berry’s natural brightness. If you’re curious about the exact proportions, the glaze’s honey‑lemon ratio is key: too much honey makes it cloying, too little leaves it dull. And don’t forget to chill the finished tree for at least thirty minutes; it firms up and the glaze sets perfectly. Let me walk you through every single step — by the end, you'll wonder how you ever made it any other way.
What Makes This Version Stand Out
- Flavor Depth: The subtle lemon zest lifts the sweetness of the strawberries, creating a bright, refreshing contrast that feels like a breath of fresh air on a holiday table.
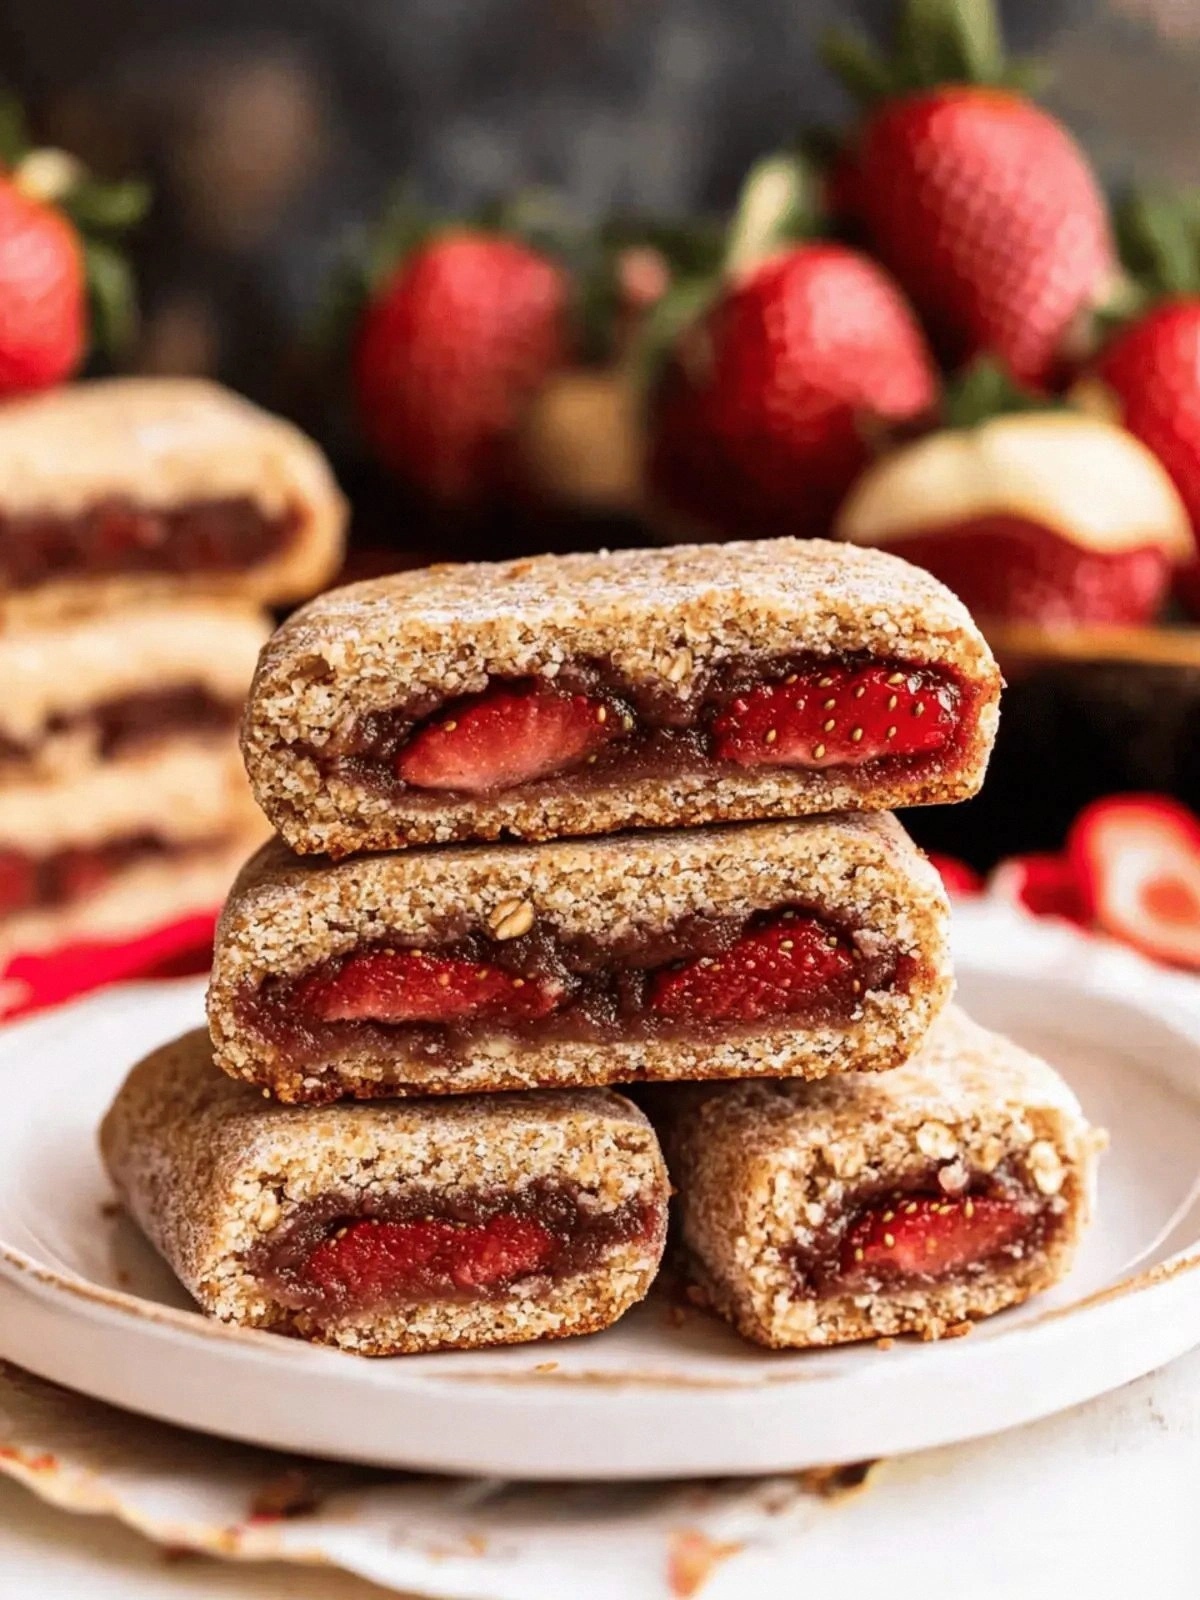
- Texture Play: A thin, buttery crust that crackles when you bite into it, giving way to a moist berry center that melts in your mouth like a holiday memory.
- Visual Appeal: The tree shape is not just decorative; it’s engineered to hold its form, so each bite is a mini work of art that looks as good as it tastes.
- Simplicity: Even though it looks sophisticated, the recipe requires only a handful of ingredients and under an hour of prep, making it ideal for last‑minute holiday menus.
- Make‑Ahead Friendly: The assembled trees can be baked ahead of time and stored in the fridge; they’ll reheat to perfection when you’re ready to serve.
- Ingredient Quality: Using fresh, high‑quality strawberries and cold, cubed butter ensures that every bite is packed with flavor and texture.
- Glaze Finish: The honey‑lemon glaze gives a glossy, almost snow‑like sheen that catches the light and adds a hint of sweetness that lingers on the palate.
Alright, let's break down exactly what goes into this masterpiece...
Inside the Ingredient List
The Flavor Base
The foundation of this tree starts with a blend of all‑purpose and almond flour, which gives the crust a subtle nuttiness that balances the bright berry sweetness. The almond flour also adds a touch of moisture, preventing the dough from becoming too dry during baking. If you prefer a completely gluten‑free version, replace the all‑purpose flour with a 1:1 blend of gluten‑free all‑purpose mix and almond flour, but be sure to add a teaspoon of xanthan gum to give the dough structure. Skipping the almond flour will result in a flatter, less tender crust that feels heavy on the tongue.
The Texture Crew
Cold, cubed butter is the secret to that flaky, buttery bite. When the butter is cold, it creates steam pockets as it melts in the oven, producing layers that puff up like miniature clouds. Use a pastry cutter or your fingertips to blend the butter into the flour until the mixture resembles coarse crumbs. A pinch of sea salt is added not just for flavor but to enhance the butter’s richness and to counterbalance the natural sweetness of the strawberries.
The Unexpected Star
Fresh strawberries are the heart of this dessert. They’re sliced thin to maintain their shape and release just enough juice to keep the tree moist. Adding a tablespoon of lemon zest before baking brightens the berry’s flavor and prevents the sweetness from becoming cloying. A drizzle of honey over the berries before assembling the tree adds a subtle caramel note that elevates the overall profile. If you’re in a pinch, a splash of balsamic vinegar can replace a portion of the honey, giving a slightly tart depth that pairs beautifully with the fruit.
The Final Flourish
The glaze is the finishing touch that turns the tree into a holiday masterpiece. Powdered sugar provides the smooth base, while lemon juice adds acidity that brightens the glaze. Honey, in small amounts, gives it a glossy sheen and a hint of floral sweetness. A touch of vanilla extract deepens the glaze’s complexity, creating a multi‑layered taste that lingers. The glaze should be thin enough to coat the berries evenly but thick enough to hold its shape when drizzled. If you prefer a more robust glaze, double the honey and reduce the lemon juice accordingly.
Everything's prepped? Good. Let's get into the real action...

The Method — Step by Step
- Preheat your oven to 375°F (190°C). Line a baking sheet with parchment paper and set it aside. This step may seem trivial, but a properly preheated oven guarantees that the dough will rise evenly and the glaze will set perfectly. If you’re in a rush, skip the parchment and use a silicone mat, but the paper ensures a cleaner release.
- Combine Dry ingredients in a large bowl: 2 cups all‑purpose flour, 1/2 cup almond flour, 1/4 cup powdered sugar, and 1 tsp sea salt. Stir until the mixture resembles fine sand. This creates a uniform base that will absorb the butter evenly and prevent lumps in the dough.
- Cut in Butter the cold, cubed butter into the flour mixture using a pastry cutter or your fingertips until the mixture looks like coarse crumbs. The butter should be visible in small pea‑sized pieces. This step is crucial for that flaky texture—if the butter is too soft, the dough will become sticky and tough.
- Bind the dough: beat 1 egg with 1 tbsp vanilla extract and pour it over the flour mixture. Stir until the dough just comes together, then knead lightly on a floured surface for 30 seconds. The dough should feel slightly tacky but not sticky. Over‑kneading will develop gluten and make the crust tough.
- Rest the dough: wrap it in plastic wrap and refrigerate for 30 minutes. This relaxes the gluten and firms the butter, making the dough easier to roll out and ensuring a tender crumb. If you’re short on time, a 10‑minute rest will still help, but the results are noticeably better with the full chill.
- Prepare Berries by washing, drying, and slicing 1 cup of fresh strawberries into thin rounds. Toss them with 1 tbsp lemon zest, 2 tbsp honey, and a pinch of sea salt. Let the mixture sit for 10 minutes; the berries will release a burst of juice that will keep the tree moist while baking.
- Roll & Assemble the chilled dough on a lightly floured surface to a thickness of about 1/8 inch. Cut out 10 circles using a 3‑inch cookie cutter. Place a spoonful of the berry mixture in the center of each circle, fold the dough over, and pinch the edges to seal, forming a small tree trunk. If you’re feeling adventurous, roll the dough into a log and slice into individual trees for a rustic look.
- Egg Wash the tops with 1 beaten egg for a golden finish. Brush gently to avoid tearing the delicate dough. This step adds shine and helps the glaze adhere better. If you don’t have an egg, a light spray of milk will suffice, though the color won’t be as vibrant.
- Bake the trees for 18–20 minutes, until the crust is golden brown and the berries are bubbling. The aroma that fills the kitchen will have you dancing around the stove. Watch closely—if the edges start pulling away too quickly, lower the temperature by 25°F to prevent burning.
- Glaze & Cool the finished trees by whisking together 1 cup powdered sugar, 1 tbsp lemon juice, 2 tbsp honey, and 1 tsp vanilla extract until smooth. Drizzle the glaze over the trees while they’re still warm; the glaze will set into a glossy coat as they cool. Let the trees rest on a wire rack for at least 30 minutes before serving to ensure the glaze firms up.
That's it — you did it. But hold on, I've got a few more tricks that'll take this to another level...
Insider Tricks for Flawless Results
The Temperature Rule Nobody Follows
Most bakers bake at 350°F, but for this tree, 375°F is the sweet spot. The higher temperature ensures the crust crisps up quickly while the berries stay juicy. If you lower the temperature, the dough will spread and the berries will dry out. Keep an eye on the timer—every minute counts when you’re aiming for that perfect golden finish. This trick is a game‑changer for anyone who’s ever had a soggy tree.
Why Your Nose Knows Best
When the dough starts to smell slightly toasted, that’s your cue to move it to the oven. A subtle nutty scent indicates the butter has released enough steam to create layers. If the scent is too buttery, the dough is still cold and needs a few more minutes to chill. Trusting your nose can save you from over‑baked or under‑baked results. I’ve seen many friends skip this step and end up with a flat, doughy mess.
The 5‑Minute Rest That Changes Everything
Once the trees are baked, let them rest on a wire rack for exactly five minutes before glazing. This short pause allows the steam to escape and the crust to set, preventing the glaze from sliding off. A quick rest also lets the berries settle, ensuring each bite is packed with flavor. Some cooks skip this step, but the difference is noticeable: a rested tree holds its shape better.
Avoiding Collapse
If you’re having trouble keeping the tree shape, roll the dough slightly thicker before cutting. A thicker dough provides more structure, especially when the berries release juice during baking. Alternatively, use a firmer almond flour blend; it gives the dough a sturdier feel. I once tried a thinner dough and the tree collapsed like a paper snowflake, which was a culinary disaster.
The Sweet‑and‑Tangy Balance
The glaze’s honey‑lemon ratio is delicate. Too much honey and you’ll drown the berries; too little and the glaze will be flat. I recommend a 1:1 ratio of honey to lemon juice for a bright, sweet finish. If you prefer a richer glaze, double the honey and halve the lemon juice, but test on a small batch first. This tweak ensures that every bite is a harmonious blend of sweet and tart.
The Final Touch
A light dusting of powdered sugar after glazing adds a subtle sweetness and a festive look. It’s also a quick way to adjust the glaze’s thickness if it’s too runny. Sprinkle a pinch of edible gold leaf on top for a luxurious finish that will wow your guests. I’ve seen this trick turn a simple dessert into a centerpiece that everyone asks for the recipe. The final touch is the difference between a good tree and an unforgettable one.
Creative Twists and Variations
This recipe is a playground. Here are some of my favorite ways to switch things up:
Chocolate‑Covered Strawberry Tree
Dip the finished trees in melted dark chocolate for a rich, indulgent flavor. Let the chocolate set before serving. This version is perfect for chocolate lovers and adds a glossy, chocolatey sheen that complements the berry glaze.
Almond‑Infused Delight
Replace the almond flour with ground almonds and add a tablespoon of almond extract to the dough. The result is a nutty, aromatic tree that pairs beautifully with the sweet berries. It’s a great option for those who love a deeper, more complex flavor profile.
Citrus Burst Variation
Swap the lemon zest for orange zest and use orange juice in the glaze. The bright, citrusy notes elevate the dessert, making it feel lighter and more refreshing. This variation works well for a summer holiday gathering.
Raspberry & Berry Fusion
Add a handful of fresh raspberries to the berry mixture for a burst of color and a slightly tart edge. The raspberries complement the strawberries and add a pop of purple that makes the tree even more eye‑catching.
Gluten‑Free Edition
Use a gluten‑free all‑purpose flour blend and a tablespoon of xanthan gum to replace the gluten. The dough will still be flaky and tender, and the tree will hold its shape beautifully. This version is ideal for guests with dietary restrictions.
Savory Strawberry Tree
For a daring twist, replace the honey glaze with a balsamic reduction and sprinkle chopped fresh basil on top. The sweet, tart, and herbaceous flavors create a savory dessert that is conversation‑starting.
Storing and Bringing It Back to Life
Fridge Storage
Store the baked trees in an airtight container at room temperature for up to 3 days. Keep them in a cool, dry place away from direct sunlight. If you need to keep them longer, refrigerate them; the glaze will firm up, and the tree will stay fresh for up to a week.
Freezer Friendly
Place the cooled trees on a parchment‑lined tray and freeze for up to 2 months. Once frozen, transfer them to a freezer bag. When ready to serve, thaw at room temperature for 30 minutes and then warm in a 350°F oven for 5 minutes to restore the crispness.
Best Reheating Method
To reheat, place the trees on a baking sheet and warm them in a 350°F oven for 5–7 minutes. Add a tiny splash of water to the pan before reheating; this creates steam that keeps the crust moist and the glaze from drying out. Serve immediately for the best texture.