Picture this: it’s a rainy Saturday morning, you’re still in pajamas, and the only thing that could possibly make the gloom melt away is the smell of something sweet, buttery, and just a little bit tangy wafting from the kitchen. I was half‑asleep, clutching a mug of lukewarm coffee, when my roommate dared me to bake something that would “make the clouds jealous.” I laughed, I rolled my eyes, but then I thought, “Okay, I’m up for a challenge.” I grabbed the first thing I could find—strawberries that were looking a little sad in the fridge, a half‑used bag of flour, and a stick of butter that was still soft from yesterday’s melt. The result? A batch of Strawberry Cinnamon Rolls that turned my kitchen into a bakery and my taste buds into a cheering crowd.
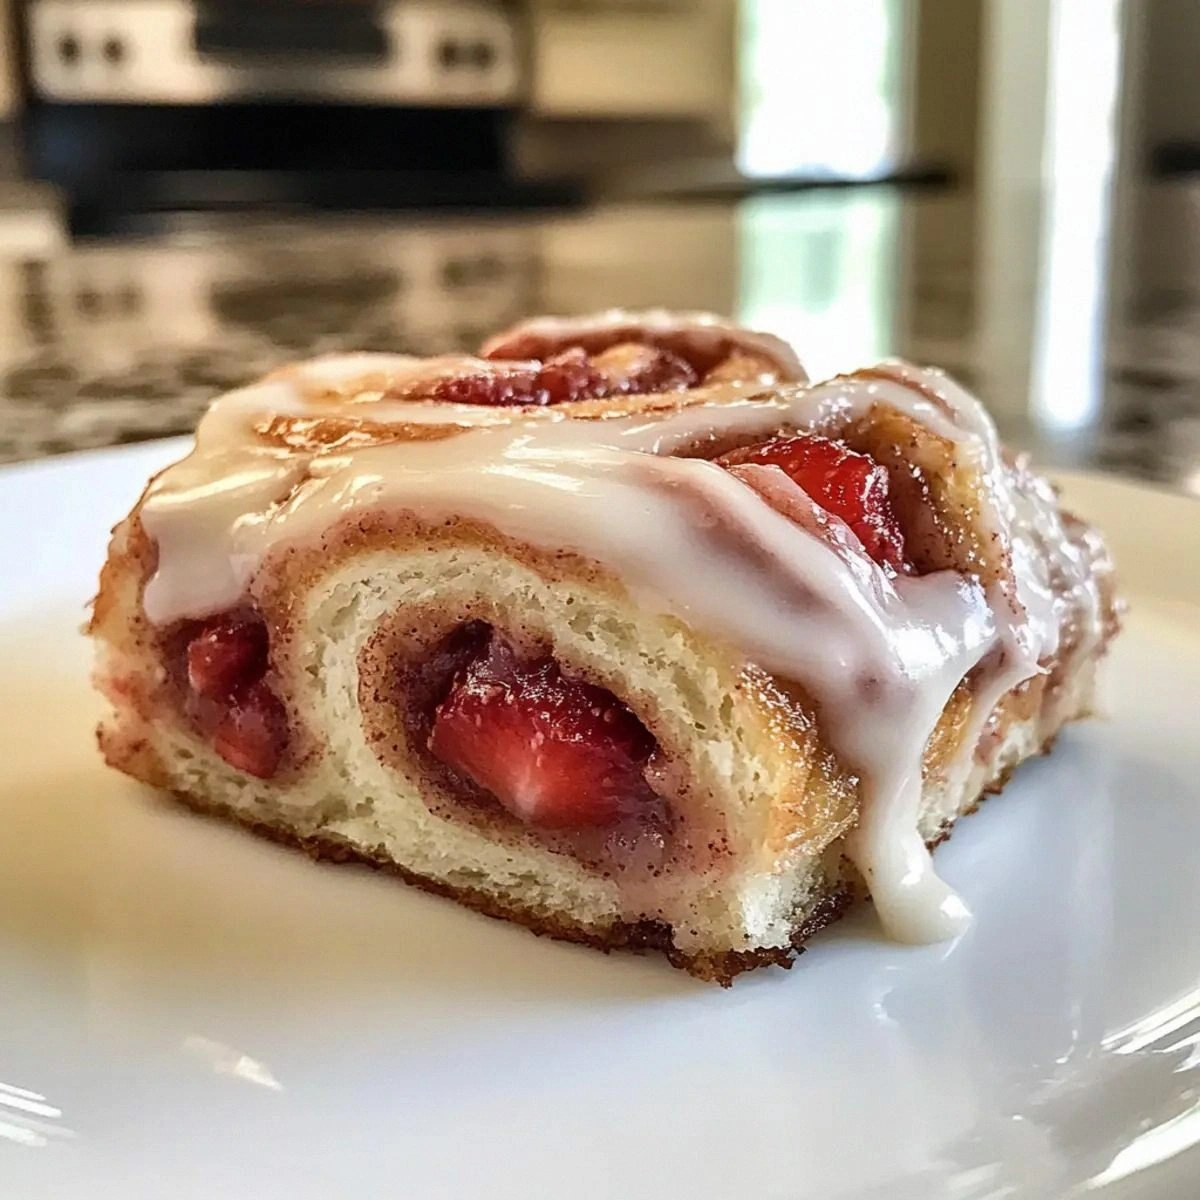
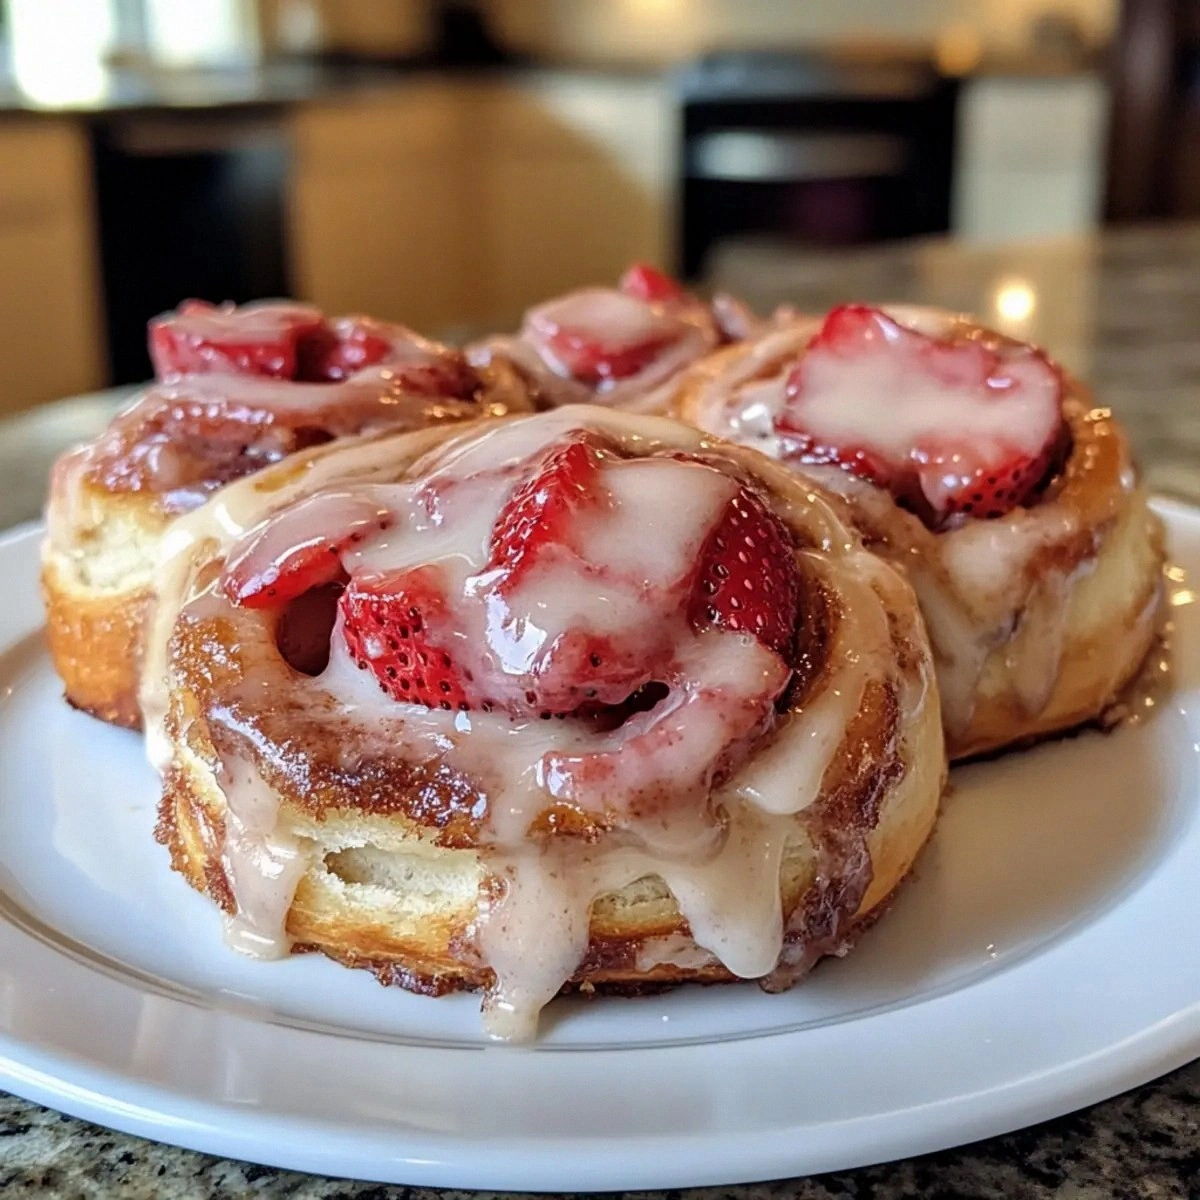
The moment those rolls hit the oven, the air filled with a perfume that could convince even the most stubborn insomniac to hit snooze and stay a little longer. The cinnamon and butter mingled with the bright, almost floral notes of fresh strawberries, while a whisper of lemon cut through the sweetness like a cool breeze on a summer day. When the timer dinged, the rolls rose like golden clouds, their tops glistening with a caramel‑kissed crust that promised a crunchy bite, and the interior? Soft, pillowy, and speckled with juicy strawberry pieces that burst with each chew. I’ll be honest — I ate half the batch before anyone else got a chance to try it, and that’s saying something because the frosting was still warm.
What makes this version truly stand out is the secret weapon: a cold strawberry puree folded into a rich cream‑cheese frosting that stays silky instead of turning grainy. Most recipes either drown the cinnamon in too much sugar or forget the fruit entirely, leaving you with a plain roll that feels more like a pastry you’d find at a chain café. Here, the strawberries are the star, not the sidekick, and the frosting has that perfect balance of tang and sweetness that makes you want to lick the plate clean. I dare you to taste this and not go back for seconds; it’s hands down the best version you’ll ever make at home.
Let me walk you through every single step — by the end, you’ll wonder how you ever made it any other way. Okay, ready for the game‑changer? We’re about to turn a simple breakfast into a memory that will linger long after the last crumb is gone.
What Makes This Version Stand Out
- Flavor Explosion: The combination of warm cinnamon, sweet strawberries, and a tangy cream‑cheese glaze creates a layered taste experience that’s both comforting and exciting.
- Texture Harmony: Each bite delivers a crisp, caramelized edge, a soft, airy crumb, and juicy fruit pockets that burst like fireworks.
- Simplicity Meets Sophistication: While the technique feels bakery‑level, the ingredient list is pantry‑friendly and the steps are straightforward.
- Unique Ingredient Twist: Cold strawberry puree in the frosting prevents curdling and adds a deep, natural fruit flavor that powdered sugar alone can’t achieve.
- Crowd‑Pleaser Factor: Even the pickiest eaters (yes, the kids who claim they hate “fruit”) line up for seconds, and adults will swear it’s a nostalgic treat.
- Ingredient Quality: Fresh strawberries and real butter give the rolls a richness that artificial flavorings simply can’t match.
- Cooking Method Magic: A gentle rise followed by a high‑heat blast creates that coveted “chewy‑outside, fluffy‑inside” texture.
- Make‑Ahead Potential: You can freeze the un‑baked rolls and bake them straight from the freezer, making weekend brunch a breeze.
Inside the Ingredient List
The Flavor Base
Warm Milk (1 cup): Milk provides the liquid needed for the yeast to thrive and adds a subtle richness that water can’t give. If you swap it for almond milk, you’ll lose some of that buttery depth, but you’ll gain a nutty nuance. Make sure it’s warm, not hot—around 105°F is ideal; hotter milk will kill the yeast, colder milk will slow the rise.
The Texture Crew
All‑Purpose Flour (4 cups): This is the structural backbone of the rolls. Using bread flour would make them chewier, while cake flour would make them crumbly. For the perfect balance, stick with all‑purpose; it gives you that tender crumb without sacrificing strength. If you’re gluten‑sensitive, a 1:1 gluten‑free blend works, but you’ll need a bit more xanthan gum to hold the dough together.
Unsalted Butter (½ cup): Butter is the secret to that melt‑in‑your‑mouth crumb. It coats the flour proteins, limiting gluten formation, which is why the rolls stay soft. Melt it gently and let it cool before adding to the dough, otherwise you’ll accidentally kill the yeast.
The Unexpected Star
Fresh or Frozen Strawberries (2 cups): Fresh strawberries give a burst of natural sweetness and a hint of acidity that cuts through the richness. If you’re using frozen, thaw and drain them first to avoid soggy dough. The berries are tossed with a tablespoon of lemon juice (see next) to enhance their flavor and keep their color vibrant.
Lemon Juice (1 tablespoon): A splash of acid brightens the strawberry’s flavor, preventing the filling from becoming cloyingly sweet. It also helps the strawberries retain a slight bite, which adds texture contrast.
The Final Flourish
Cream Cheese (8 oz): This forms the base of the frosting, giving it a tangy backbone that balances the sugar. Use full‑fat cream cheese for the creamiest result; low‑fat versions can become grainy when mixed with powdered sugar.
Powdered Sugar (2 cups): The sweetener for the frosting; it dissolves smoothly into the cream cheese, creating a glossy glaze that sets just enough to hold its shape.
Vanilla Extract (1 tsp): A classic flavor enhancer that rounds out the frosting’s profile. Real vanilla beans would be even better, but the extract works fine.
Cold Strawberry Puree (¼ cup): This is the secret sauce that keeps the frosting from turning grainy. By adding a cold fruit puree, you lower the temperature of the mixture, preventing the powdered sugar from clumping. It also intensifies the strawberry flavor without adding extra water.
Everything's prepped? Good. Let's get into the real action...
The Method — Step by Step
Start by activating the yeast. In a small bowl, combine 1 cup warm milk (just warm enough to feel like a summer afternoon) with 2 teaspoons instant dry yeast and a pinch of the granulated sugar. Stir gently, then let it sit for 5‑7 minutes until it becomes foamy. That foam is the sign that your yeast is alive and ready to give these rolls a glorious lift. If nothing happens, you’ve got dead yeast—time for a fresh packet.
While the yeast is doing its magic, whisk together the remaining ¼ cup granulated sugar, 1 teaspoon salt, and 4 cups all‑purpose flour in a large mixing bowl. Create a well in the center and set it aside. This is where the wet ingredients will meet the dry, and the magic truly begins.
In a separate bowl, beat 1 large egg, then add the melted (but cooled) ½ cup unsalted butter and the foamy yeast mixture. Mix until smooth; you should notice the batter becoming glossy and slightly thick. This is the moment where the dough starts to come together, and you can almost smell the buttery promise.
Gradually pour the wet mixture into the flour well, stirring with a wooden spoon or the mixer’s paddle attachment. As the dough forms, it will be slightly sticky—don’t panic. Sprinkle a little extra flour if it’s too wet, but aim for a soft, tacky consistency. When the dough pulls away from the sides of the bowl and forms a smooth ball, you’ve achieved the perfect hydration.
Turn the dough onto a lightly floured surface and knead for about 8‑10 minutes. You’re looking for that elastic feel where the dough stretches without tearing. This is the “gluten‑development” stage that gives the rolls their structure. If you’re using a stand mixer, let it run for 6 minutes on medium.
Shape the dough into a ball, place it in a lightly greased bowl, cover with a clean kitchen towel, and let it rise in a warm spot for 1‑1½ hours, or until doubled in size. That’s the time when the yeast works its magic, producing carbon dioxide bubbles that puff up the dough. While you wait, let’s prep the filling.
In a medium bowl, combine the sliced strawberries (or chopped if using frozen) with 1 tablespoon lemon juice and a sprinkle of the remaining granulated sugar. Toss gently and let them macerate for 10 minutes. This draws out the juices, creating a natural syrup that will seep into the dough, keeping it moist and flavorful.
Once the dough has risen, punch it down gently to release excess air—think of it as a polite “excuse me” to the yeast. Roll the dough out on a floured surface into a rectangle about 12×18 inches, about ½‑inch thick. The surface should be lightly dusted, not a flour mountain, to keep the dough from drying out.
Brush the entire surface with the softened butter, then sprinkle a generous layer of cinnamon (about 2‑3 teaspoons) mixed with a pinch of sugar. The cinnamon should coat the butter like a thin, fragrant veil. Next, evenly distribute the macerated strawberries across the dough, leaving a small border around the edges.
Now comes the roll‑up: starting from the long side, tightly roll the dough into a log, sealing the edge by pinching it gently. This tight roll is what creates those beautiful spirals when you slice them. Using a sharp, serrated knife, cut the log into 12 equal pieces—each should be about 1‑inch thick. If the dough sticks, dip the knife in hot water and wipe it dry between cuts.
Arrange the rolls in a greased 9×13‑inch baking dish, spacing them just a hair apart to allow for expansion. Cover the dish with a damp towel and let the rolls rise again for 30‑45 minutes. This second rise is crucial; it gives the rolls that fluffy interior and ensures they don’t end up dense.
While the rolls are proofing the second time, preheat your oven to 375°F (190°C). This temperature is hot enough to caramelize the butter and cinnamon, yet gentle enough to keep the interior airy. The kitchen will start to smell like a bakery—trust me, that’s the “good” kind of anxiety.
When the rolls have puffed up, bake them for 20‑25 minutes, or until the tops are a deep golden‑brown and the edges start pulling away from the pan. You’ll know they’re done when a gentle tap on the top sounds hollow, and the aroma is so intoxicating it could convince a cat to give up its nap.
While the rolls are cooling for a few minutes, whisk together the cream cheese, powdered sugar, vanilla extract, and the cold strawberry puree until smooth. The cold puree keeps the frosting from becoming grainy, resulting in a glossy, velvety glaze that spreads like a dream.
Drizzle the frosting generously over the warm rolls, letting it seep into the crevices. The heat from the rolls will melt the frosting just enough to create a luscious, glossy coating while still holding its shape. Serve immediately, or let them sit for a few minutes to allow the frosting to set.
That's it — you did it. But hold on, I've got a few more tricks that'll take this to another level...
Insider Tricks for Flawless Results
The Temperature Rule Nobody Follows
Never let your dough get colder than room temperature during any stage. If the kitchen is chilly, place the bowl in a turned‑off oven with the light on; the gentle warmth keeps the yeast active without overheating. I once tried to speed things up by putting the dough in a microwave on “defrost” and ended up with a gummy mess. Trust the slow, steady heat for the best rise.
Why Your Nose Knows Best
When the dough is proofing the second time, the scent will change from yeasty to slightly sweet. If you can smell a faint buttery aroma, the rolls are ready to bake. This olfactory cue beats the clock every time—your nose is a built‑in timer.
The 5‑Minute Rest That Changes Everything
After you slice the rolls, let them sit for exactly five minutes before frosting. This brief rest lets the steam settle, preventing the frosting from sliding off too quickly. I once rushed this step and ended up with a soggy glaze that pooled at the bottom of the pan.
Cold Butter, Warm Milk—The Sweet Spot
Using butter that’s softened but still cool (around 70°F) ensures it incorporates without melting the dough’s structure. Warm milk, on the other hand, wakes up the yeast. The temperature contrast is what gives the rolls that tender crumb without becoming greasy.
Freeze‑Proof the Fillings
If you’re planning ahead, freeze the macerated strawberries on a parchment sheet, then blend them into the dough after thawing. This prevents excess moisture from making the dough soggy. A friend tried this once and ended up with a dough that felt like wet sand—lesson learned.
Creative Twists and Variations
This recipe is a playground. Here are some of my favorite ways to switch things up:
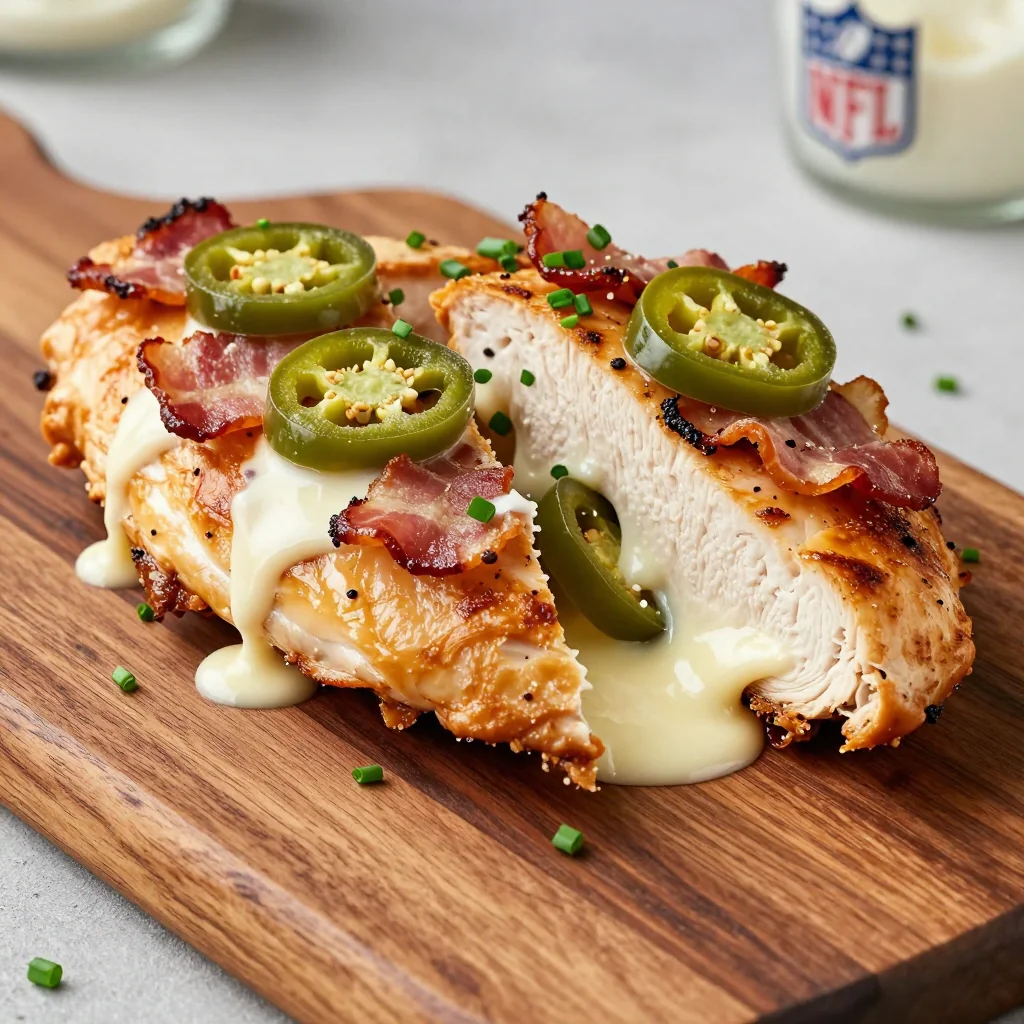
Maple‑Bacon Bliss
Swap half the strawberries for crisp bacon bits and drizzle a light maple glaze over the frosting. The salty‑sweet combo is perfect for brunch lovers who crave a savory punch.
Chocolate‑Covered Delight
After frosting, drizzle melted dark chocolate over the rolls and sprinkle sea salt. The bitterness of the chocolate balances the sweet strawberry, creating a sophisticated flavor profile.
Nutty Crunch
Fold chopped toasted almonds or pecans into the strawberry filling. The nuts add a satisfying crunch and a buttery undertone that pairs beautifully with cinnamon.
Vegan Velvet
Replace the butter with coconut oil, use a plant‑based cream cheese, and swap milk for oat milk. The result is a vegan-friendly roll that still boasts that melt‑in‑your‑mouth texture.
Spiced Autumn
For a fall twist, add a pinch of nutmeg and ground ginger to the cinnamon mixture, and use frozen cranberries instead of strawberries. The tartness of cranberries gives a festive feel.
Mini Bite‑Size Rolls
Cut the dough into smaller ½‑inch pieces before baking. These bite‑size treats are perfect for brunch buffets or as a sweet addition to a cheese board.
Storing and Bringing It Back to Life
Fridge Storage
Allow the rolls to cool completely, then place them in an airtight container. They’ll stay fresh for up to 3 days. If the frosting hardens, let the container sit at room temperature for 15 minutes before serving.
Freezer Friendly
Wrap each roll individually in plastic wrap, then place them in a zip‑top freezer bag. They freeze beautifully for up to 2 months. To bake from frozen, let them thaw in the fridge overnight, then give them a 10‑minute rise at room temperature before baking.
Best Reheating Method
Preheat your oven to 300°F (150°C), place the rolls on a baking sheet, and sprinkle a tiny splash of water over each. Cover loosely with foil and heat for 8‑10 minutes. The steam revives the crumb, and the frosting softens back to its creamy glory.