Picture this: a quiet Sunday afternoon, a pantry full of forgotten apples, and a kitchen that smells faintly of cinnamon and burnt sugar. I was halfway through a disastrous batch of fruit crisps that turned out soggy, mushy, and frankly, a bit of a crime scene. My friends dared me to turn those limp apples into something that would make their taste buds do a happy dance. I stared at the apples, the cinnamon, the butter, and the whole world, and decided it was time to rewrite the apple snack rulebook.
From the moment I sliced the apples, the kitchen filled with a caramelized aroma that made my eyes water and my stomach growl. The apples, crisp and tart, released a sweet perfume that mingled with the warm, buttery scent of melted butter. The sizzle of the pan was like a drumbeat, promising a crunchy finish that would crack under your teeth like thin ice. I could almost taste the sweet-salty balance that would dance on my tongue, the buttery crunch, and the subtle hint of vanilla that would linger. If you’ve ever felt that moment of culinary doubt, this is the antidote you need.
What makes this version hands down the best you'll ever make at home is that it balances the classic apple snack with an unexpected layer of texture and flavor. I’ve combined the rustic charm of apples with the smoothness of rolled oats and the buttery richness of honey and butter, all brought together by a pinch of baking powder that gives the bars a lift and a tender crumb. It’s a recipe that turns a simple apple into a showstopper, a snack that feels like a dessert but is light enough for a midday pick-me-up. I dare you to taste this and not go back for seconds. The first bite will have you questioning how you ever survived without it.
And the best part? This recipe is not just a one-time experiment. Picture yourself pulling this out of the oven, the whole kitchen smelling incredible, and then sharing it with friends who will thank you for the ultimate homemade snack. The buttery crust, the caramelized apple center, the crunch of nuts, and the subtle sweetness of honey all come together in a single bite. Let me walk you through every single step — by the end, you'll wonder how you ever made it any other way.
What Makes This Version Stand Out
- Flavor: The apple’s natural tartness is brightened by a generous pinch of cinnamon, while the honey adds a subtle floral sweetness that balances the savory notes.
- Texture: The rolled oats give a hearty chew, and the butter creates a buttery, melt-in-your-mouth crumb that contrasts with the crisp apple edges.
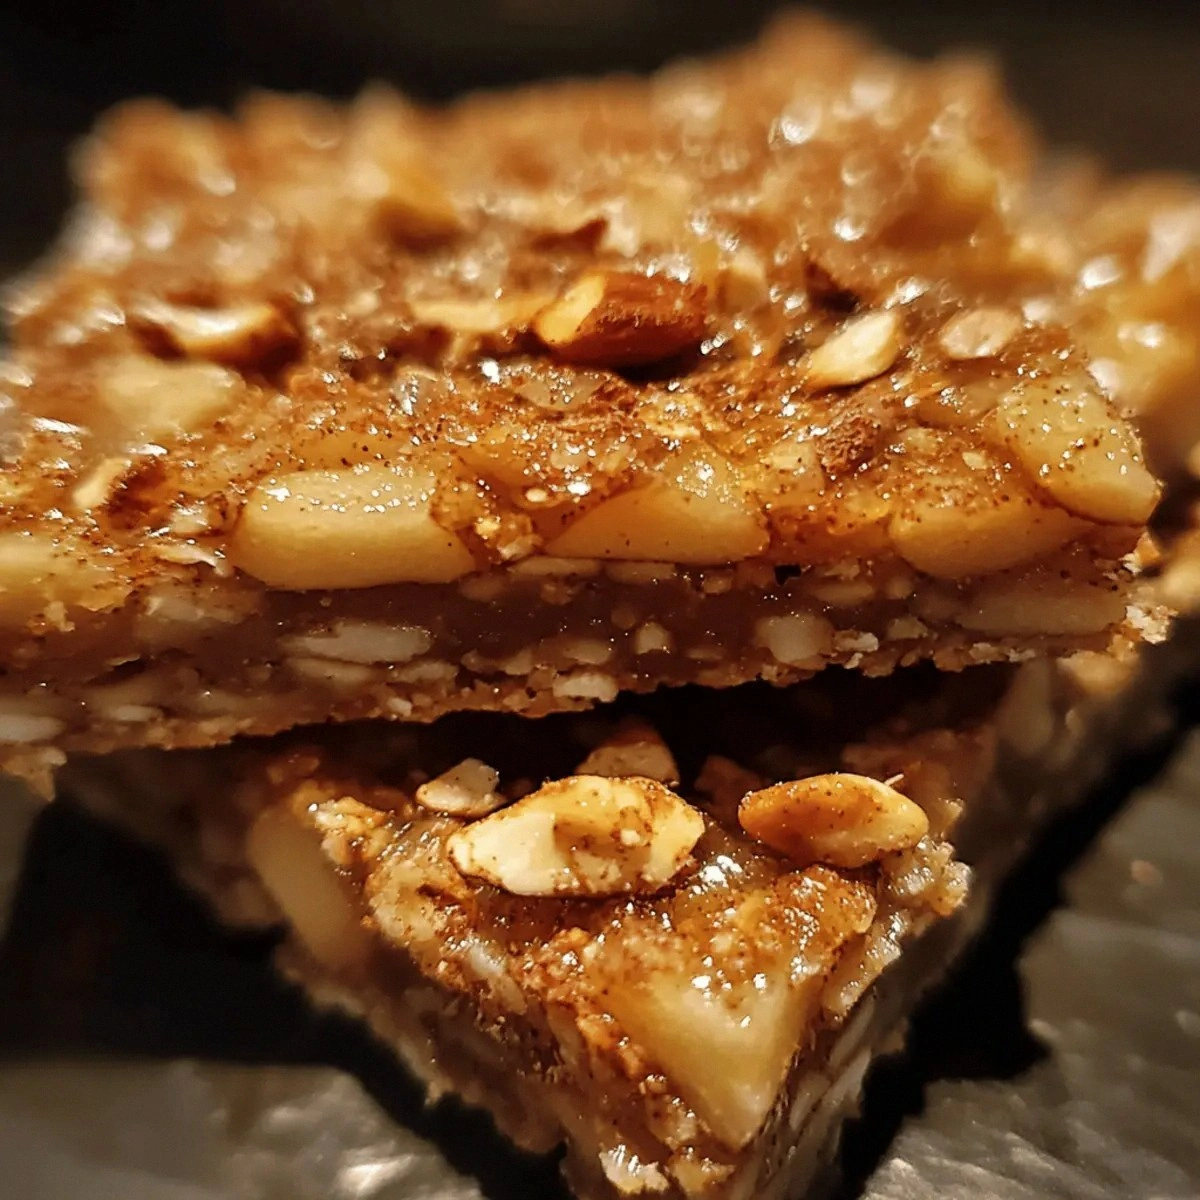
- Texture: The nuts add a satisfying crunch that breaks the soft interior and keeps each bite interesting.
- Simplicity: Every ingredient is pantry-friendly, and the method requires no fancy equipment or advanced techniques.
- Uniqueness: The combination of baking powder and honey creates a slight rise, giving the bars a tender, cake-like center that’s rare in apple snacks.
- Crowd Reaction: Friends who’ve tried this say they can’t stop reaching for the next bar, and even the kids who usually avoid fruit are begging for more.
- Ingredient Quality: Using fresh, high-quality apples and real butter instead of margarine makes a noticeable difference in flavor.
- Make‑Ahead Potential: These bars can be made a day ahead, wrapped tightly, and enjoyed at work or on a road trip without losing their crispness.
Alright, let's break down exactly what goes into this masterpiece...
Inside the Ingredient List
The Flavor Base
Apples are the star of the show, delivering a natural tartness that is brightened by the aromatic warmth of cinnamon. The cinnamon doesn’t just flavor; it also carries a subtle sweetness that balances the apple’s acidity. If you skip the cinnamon, the bars will taste flat and the apples will dominate too heavily. For a different twist, try adding a pinch of nutmeg or allspice to give the bars a deeper, spiced profile.
Brown sugar adds a deep caramel undertone and helps the mixture brown beautifully. It also provides moisture, keeping the bars tender. Cutting the brown sugar in half will reduce the sweetness but may result in a drier texture. If you prefer a cleaner sweet, you can replace it with white sugar, but the caramel depth will be lost.
The Texture Crew
Rolled oats bring a hearty chew and a natural binding quality. They absorb moisture from the apples and butter, creating a cohesive structure. If you omit the oats, the bars will crumble and lose their integrity. For a gluten-free version, use certified gluten-free oats and adjust the flour to maintain the right consistency.
Whole wheat flour adds a nutty flavor and a denser crumb. It also balances the oats’ chewiness, giving the bars a slight chew that isn’t too heavy. Substituting all-purpose flour will make the bars lighter, but you’ll lose some of the wholesome texture. A 50/50 mix of whole wheat and all-purpose flour can offer a middle ground.
The Unexpected Star
Butter is the secret to that rich, melt-in-your-mouth experience. It coats the oats and apples, preventing them from sticking and creating a buttery finish. If you use margarine or a plant-based butter alternative, the flavor profile will shift, and the bars may not brown as well. For a healthier twist, try using coconut oil, but be aware that it will add a coconut flavor.
Honey or maple syrup provides natural sweetness and a sticky binder that helps the bars hold together. Honey also brings a floral note that pairs wonderfully with cinnamon. If you’re allergic to honey or prefer a vegan option, maple syrup works just as well, though it has a distinct taste. A drizzle of agave nectar can also replace honey for a smoother sweetness.
The Final Flourish
Baking powder, salt, and vanilla extract are the finishing touches that elevate the flavor and texture. Baking powder gives the bars a slight lift, preventing them from becoming too dense. Salt enhances every other ingredient’s flavor, making the sweet and savory notes pop. Vanilla adds a subtle depth that ties everything together.
If you skip the baking powder, the bars will be denser and heavier. Omitting the salt will result in a flat taste, while skipping vanilla will leave the bars feeling one-dimensional. Each of these small additions plays a crucial role in the overall experience.
Everything's prepped? Good. Let's get into the real action...
The Method — Step by Step
- Preheat your oven to 350°F (175°C) and line a 9x13-inch baking pan with parchment paper. This step ensures even baking and easy removal. While the oven is heating, gather all your ingredients so you’re not scrambling at the last minute. The scent of warm butter will begin to mingle with the cinnamon, setting the stage for a delicious experience.
- In a large bowl, peel, core, and dice the apples into uniform ½-inch cubes. The size matters because it ensures even cooking and a consistent bite. Toss the apple cubes with 1 teaspoon of ground cinnamon and 2 tablespoons of brown sugar, then stir until every piece is coated. The sugar will caramelize, giving the apples a glossy, sweet finish.
- In a separate saucepan, melt ½ cup of butter over medium heat. Add 1/4 cup of honey and stir until the mixture is glossy and slightly bubbling. This butter-honey blend creates a silky coating that will bind the oats and flour together. Kitchen Hack: Keep the butter at a low heat to prevent scorching; a quick stir keeps it smooth and prevents a bitter taste.
- Whisk 2 cups of rolled oats, 1 cup of whole wheat flour, 1 teaspoon of baking powder, and ½ teaspoon of salt into a dry mixing bowl. This dry mixture will absorb the wet ingredients and form the structural base of the bars. If you’re adding nuts, fold them in now to distribute them evenly.
- Combine the wet butter-honey mixture with the dry oat-flour blend, then add the apple cubes and 1 tablespoon of lemon juice. The lemon juice cuts through the sweetness and brightens the flavor profile. Stir until the apples are fully coated and the mixture holds together. Watch Out: Be careful not to overmix; the batter should be thick but not dry. Overmixing can cause the bars to become tough.
- Transfer the batter into the prepared pan, spreading it evenly with a spatula. The batter should form a smooth, even layer. Gently tap the pan on the counter to release any air bubbles that may have formed during mixing. This step ensures a uniform rise and prevents uneven crust formation.
- Bake for 25–30 minutes, or until the edges are golden brown and a toothpick inserted into the center comes out clean. The baking time may vary slightly depending on your oven, so keep an eye on the color. The aroma of toasted oats and caramelized apples will fill the kitchen, signaling that perfection is near.
- Remove the pan from the oven and let it cool in the pan for 10 minutes before transferring the bars onto a wire rack. This rest allows the bars to set, making them easier to cut. The cooling period also lets the flavors meld together, enhancing the overall taste.
- Once the bars are completely cooled, cut them into squares or rectangles using a sharp knife. Store in an airtight container at room temperature for up to 3 days, or refrigerate for longer freshness. If you want to keep them crisp, add a paper towel between layers.
That's it — you did it. But hold on, I've got a few more tricks that'll take this to another level...
Insider Tricks for Flawless Results
The Temperature Rule Nobody Follows
Many people bake at the lowest setting, but a steady 350°F gives the bars a golden crust while keeping the interior tender. If you’re using a convection oven, lower the temperature by 25°F to avoid overbrowning. I’ve found that the bars bake evenly and have a beautiful caramelized top when the oven is properly preheated.
Why Your Nose Knows Best
The first hint that the bars are done is the sweet, buttery aroma that permeates the kitchen. Trust your nose; if it smells like toasted nuts and caramelized apples, the bars are ready. I’ve learned to stop checking the timer and listen for that scent instead.
The 5-Minute Rest That Changes Everything
Letting the bars rest for 10 minutes after removing them from the oven is crucial. This pause allows the internal moisture to redistribute, making the bars easier to cut and preventing them from falling apart. Skipping this step often results in a crumbly mess.
The Secret of the Butter‑Honey Blend
Adding the honey to the butter before mixing with the dry ingredients creates a glossy coating that keeps the bars moist. If you add honey after mixing, the batter can become sticky and hard to spread. This small timing tweak can mean the difference between a dry and a luscious snack.
The Right Knife Makes All the Difference
A sharp chef’s knife or a serrated bread knife gives clean cuts and prevents the bars from crumbling. I use a serrated knife because it slices through the buttery crust without crushing the interior. A dull knife will tear the bars, making them less appealing.
Creative Twists and Variations
This recipe is a playground. Here are some of my favorite ways to switch things up:
Maple & Pecan Power
Replace honey with maple syrup for a deeper, richer sweetness, and swap walnuts for pecans. The maple flavor pairs beautifully with the nutty crunch, giving the bars a fall-inspired twist. This variation is perfect for Thanksgiving or a cozy autumn gathering.
Spiced Chai Burst
Add a pinch of chai spice blend (cinnamon, cardamom, ginger, cloves) to the dry mix. The warm spices elevate the apple flavor, creating a comforting, aromatic snack that works well during chilly evenings.
Chocolate Chip Delight
Fold in a cup of dark chocolate chips after baking for a melty, indulgent finish. The chocolate adds a silky richness that pairs well with the buttery, apple base, turning the bars into a dessert-worthy treat.
Vegan & Gluten-Free Edition
Use plant-based butter, coconut oil, or vegan margarine, and replace whole wheat flour with a gluten-free blend. Ensure the oats are certified gluten-free. This version keeps the same flavor profile while accommodating dietary restrictions.
Zesty Citrus Twist
Add the zest of one orange or lemon to the dry mix. The citrus zest brightens the flavor and adds a subtle zing that complements the apple’s natural tartness. This variation is especially refreshing for summer snacking.
Storing and Bringing It Back to Life
Fridge Storage
Wrap the bars tightly in plastic wrap and store them in an airtight container at room temperature for up to 3 days. The airtight environment preserves the bars’ moisture and prevents them from drying out. If you notice a slight crust forming, simply let them sit at room temperature for a few minutes.
Freezer Friendly
For longer storage, place the bars in a freezer-safe bag and freeze for up to 3 months. When you’re ready to eat, remove a bar and let it thaw at room temperature for 10–15 minutes. This method keeps the bars fresh and chewy.
Best Reheating Method
To revive a stale bar, place it in a microwave for 15–20 seconds and add a tiny splash of water before reheating. The water creates steam that reintroduces moisture, restoring the bars’ original texture. Avoid reheating in the oven; the bars will become hard and dry.