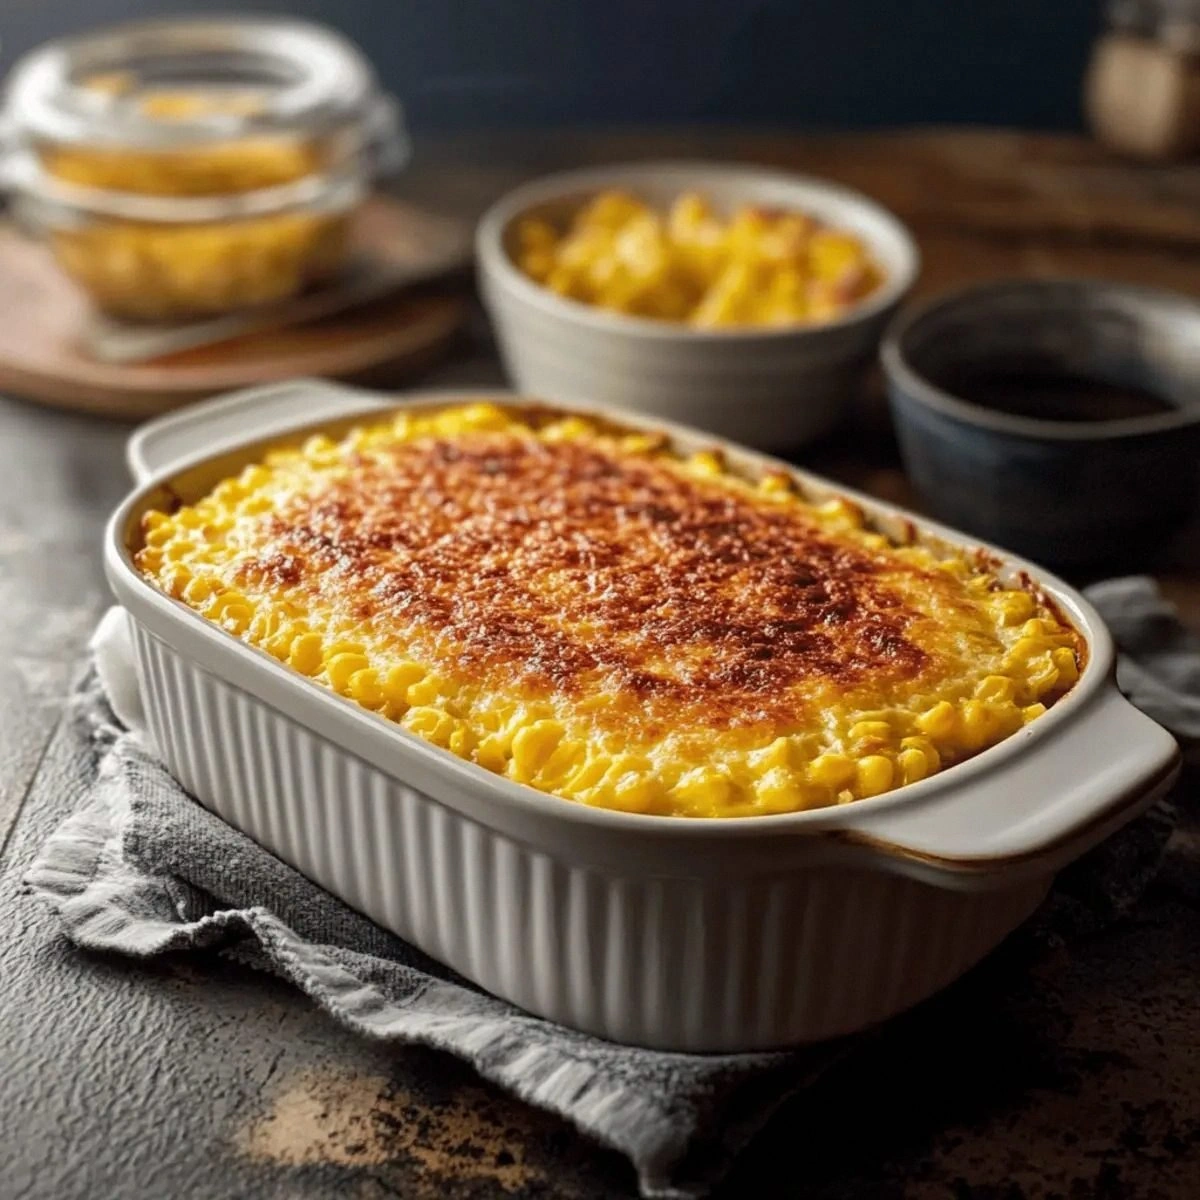
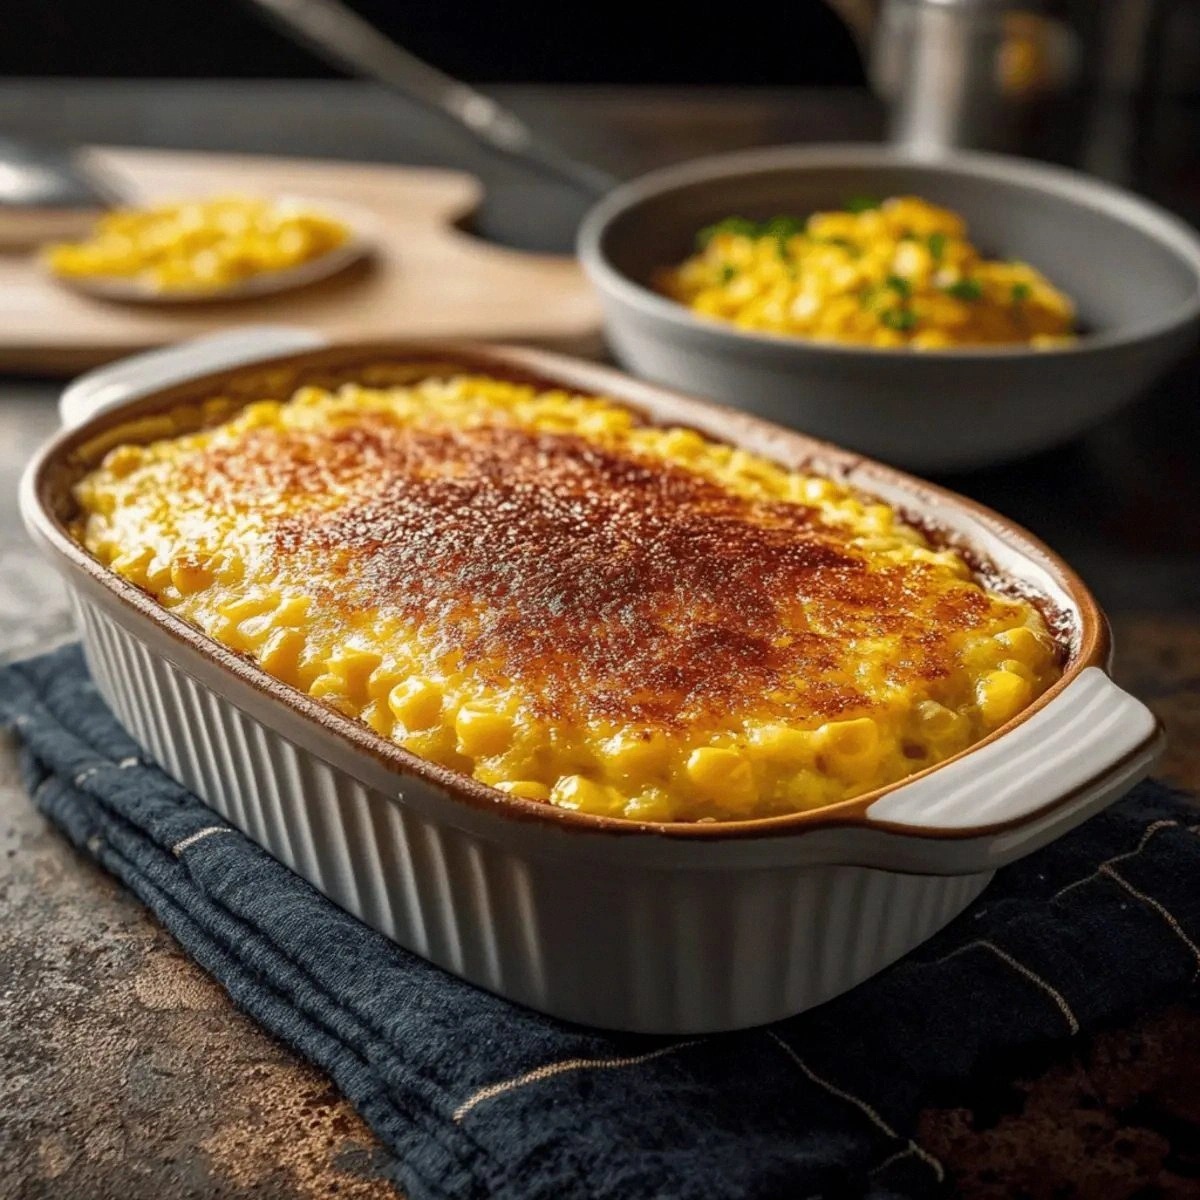
Okay, ready for the game‑changer? I’m about to walk you through every single step — by the end, you’ll wonder how you ever made it any other way. Picture yourself pulling this out of the oven, the whole kitchen smelling incredible, the golden crust shimmering under the light, and the first forkful melting like a buttery cloud. Stay with me here — this is worth it.
What Makes This Version Stand Out
- Flavor: The combination of whole kernel corn and creamed corn creates a sweet‑savory duet that dances on the palate. The corn muffin mix adds a faint vanilla note that whispers rather than shouts.
- Texture: You get a custardy interior that’s buttery smooth, contrasted by a caramelized crust that cracks like thin ice when you slice through it.
- Simplicity: Only eight pantry staples are needed, and none of them require any exotic sourcing or advanced culinary techniques.
- Uniqueness: The melted butter is folded in at the very end, giving the pudding a glossy sheen and a melt‑in‑your‑mouth richness that standard recipes lack.
- Crowd Reaction: Guests invariably ask for the recipe, and the first spoonful usually earns a chorus of “more, please!” — a true testament to its comfort factor.
- Ingredient Quality: Using a good‑quality corn muffin mix ensures the pudding rises just enough to stay light without becoming cake‑like.
- Cooking Method: Baking at a moderate temperature lets the edges set while the center stays luxuriously creamy, a balance most rushed recipes miss.
- Make‑Ahead Potential: This dish reheats beautifully, making it perfect for holiday leftovers or a make‑ahead side for a big gathering.
Inside the Ingredient List
The Flavor Base
The two cans of whole kernel corn provide the essential sweet pop that defines this dish. Each kernel retains its natural crunch after baking, giving you that satisfying bite that’s impossible to achieve with frozen or dried corn alone. If you skip this, you’ll end up with a pudding that feels flat and loses the signature corn burst. For the best flavor, choose a brand that packs the kernels in water rather than syrup; you want pure corn sweetness, not an extra sugary coat.
The single can of creamed corn is the silky, buttery glue that binds everything together. Its creamy texture creates a custard‑like base, while the subtle corn flavor deepens the overall profile. If you’re feeling adventurous, you can replace half of the creamed corn with a splash of heavy cream for an even richer mouthfeel, but the original ratio hits the sweet spot perfectly.
The Texture Crew
Corn muffin mix is the secret weapon that differentiates this pudding from the soggy versions you’ve seen online. It introduces a light lift and a tender crumb, while the built‑in leavening ensures the interior stays fluffy. Should you run out, you can substitute an equal amount of all‑purpose flour plus 1 teaspoon of baking powder, but the muffin mix gives a subtle buttery note you’ll miss otherwise.
Sour cream adds a gentle tang that cuts through the richness, preventing the dish from feeling cloyingly sweet. Its acidity also helps the pudding set nicely, creating that custard‑like interior we all love. If you’re dairy‑free, Greek‑style coconut yogurt works as a stand‑in, though the flavor will shift toward tropical.
The Unexpected Star
Melted butter is folded in at the very end of mixing, which is a technique most recipes overlook. This ensures the butter coats every kernel and crumb, creating a glossy finish that catches the eye and the palate. Skipping this step or adding the butter too early can cause the pudding to become greasy rather than buttery.
Eggs provide structure and lift. Four large eggs are enough to bind the mixture without making it rubbery. If you prefer a lighter texture, you can separate the yolks and whites, whisk the whites to soft peaks, and fold them in at the end for an airy, soufflé‑like top.
The Final Flourish
Sugar is kept modest at a quarter cup, just enough to enhance the natural corn sweetness without turning the dish into a dessert. Salt, though only a teaspoon, amplifies every flavor, making the corn taste brighter and the butter richer. A pinch of smoked paprika can be added for a subtle smoky undertone, but the classic version shines on its own.
Everything's prepped? Good. Let’s get into the real action…
The Method — Step by Step
Preheat your oven to 350°F (175°C) and grease a 9‑inch square baking dish with a tablespoon of butter. As the oven warms, the kitchen fills with a gentle hum of anticipation, and you can already smell the buttery promise of what’s to come. This initial heat sets the stage for an even bake and prevents the pudding from sticking.
Kitchen Hack: Use a silicone brush to spread the butter; it ensures an ultra‑thin, even coating that helps the crust crisp uniformly.In a large mixing bowl, combine the whole kernel corn, creamed corn, and corn muffin mix. Stir gently until the mixture looks like a thick, golden slurry. The corn kernels should be evenly suspended, giving you a preview of the burst of flavor each bite will deliver.
Add the sour cream, melted butter, and sugar to the bowl. Whisk everything together until the batter is smooth and glossy. You’ll notice the mixture thickening—this is the butter coating every kernel, a crucial step for that buttery sheen.
Crack the four large eggs into a separate bowl, beat them lightly, then pour them into the corn mixture. Fold the eggs in with a spatula, being careful not to over‑mix; you want the batter to stay airy, not tough.
Season the batter with the teaspoon of salt, and give it a final stir. Taste a tiny spoonful—if you feel it needs a pinch more salt, now is the moment to adjust. Remember, the salt is the unsung hero that makes every other flavor pop.
Pour the batter into the prepared baking dish, spreading it evenly with the back of a spoon. The surface should be smooth, but don’t press down too hard; you want a slight mound in the center for a beautiful dome as it bakes.
Watch Out: If you over‑level the batter, the top may become too flat, losing the coveted caramelized ridge that defines a perfect corn pudding.Slide the dish into the oven and bake for 25‑30 minutes. Around the 20‑minute mark, check the edges—they should start pulling away from the sides of the pan, and the top will be golden brown. The scent at this stage is intoxicating, a buttery corn perfume that fills the entire house.
For an extra caramelized finish, turn the oven to broil for the last 3‑4 minutes. Keep a vigilant eye; the surface can go from perfect to burnt in seconds. When the top is a deep amber with a slight crackle, you’ve hit the sweet spot.
Remove the pudding from the oven and let it rest for 5‑10 minutes. This resting period allows the custard interior to set, making slicing clean and giving the flavors a chance to meld. The steam rising from the dish is a visual cue that the pudding is still warm and ready to be devoured.
Slice into generous squares, serve warm, and watch as your guests dive in with delight. That first bite? It should be buttery, sweet, and just a hint of tang from the sour cream, with corn kernels popping like fireworks in your mouth. And now the fun part—watch them ask for seconds.
Kitchen Hack: Warm your plates in the oven for a minute before serving; the pudding stays hotter longer and the crust stays crisp.
That's it — you did it. But hold on, I've got a few more tricks that'll take this to another level…
Insider Tricks for Flawless Results
The Temperature Rule Nobody Follows
While 350°F is the standard, dropping the temperature to 325°F for the first 15 minutes can help the interior set gently, preventing a sudden crust that might trap steam and make the center soggy. I tried this once on a whim, and the pudding emerged with a silkier interior and a perfectly crisp top. The key is to then raise the heat back up to finish the caramelization.
Why Your Nose Knows Best
Your sense of smell is a more reliable indicator than a timer. When the edges start to smell nutty and the top gives off a caramel aroma, you’re on the right track. A friend once relied strictly on the timer and ended up with a burnt top; after that, I trust my nose first, timer second.
The 5‑Minute Rest That Changes Everything
Letting the pudding rest for five minutes after baking allows the steam to redistribute, turning a potentially gummy interior into a luscious custard. Skipping this step can cause the pudding to fall apart when you cut it. It’s a tiny pause that makes a massive difference.
Butter Brush Finale
A quick brush of melted butter on the top just before the final broil adds an extra layer of gloss and flavor. It’s the finishing touch that makes the crust sparkle like a golden sunrise.
Cool‑Down Trick for Perfect Slices
If you’re serving a crowd, place the baking dish on a wire rack for a minute before cutting. The slight cooling firms the edges, giving you clean, picture‑perfect squares without the pudding sliding apart.
Creative Twists and Variations
This recipe is a playground. Here are some of my favorite ways to switch things up:
Spicy Jalapeño Kick
Add a finely diced jalapeño and a pinch of cayenne to the batter for a subtle heat that balances the sweetness. The heat pairs beautifully with the buttery corn, making it a hit at summer barbecues.
Cheddar‑Infused Delight
Stir in a cup of shredded sharp cheddar right before baking. The cheese melts into the custard, creating pockets of gooey, tangy goodness that elevate the dish to a savory‑sweet masterpiece.
Maple‑Brown Sugar Bliss
Swap the regular sugar for an equal part of brown sugar and drizzle a tablespoon of pure maple syrup into the batter. The caramel notes become deeper, and the dish takes on a cozy, autumnal vibe.
Coconut‑Lime Tropical
Replace the sour cream with coconut yogurt and add a teaspoon of lime zest. The result is a bright, tropical twist that pairs wonderfully with grilled shrimp or fish.
Savory Herb Medley
Mix in chopped fresh thyme and rosemary for an herbaceous version that works as a side for roasted chicken. The herbs infuse the butter, creating aromatic pockets throughout the pudding.
Storing and Bringing It Back to Life
Fridge Storage
Allow the pudding to cool completely, then cover tightly with foil or plastic wrap. It keeps fresh for up to three days in the refrigerator. Reheat gently in a 300°F oven for 15‑20 minutes, adding a splash of water to the pan to create steam and revive the crust.
Freezer Friendly
Portion the cooled pudding into freezer‑safe containers or zip‑top bags. It freezes well for up to two months. When ready to serve, thaw overnight in the fridge, then bake at 350°F for 20‑25 minutes, again adding a drizzle of butter on top before the final broil.
Best Reheating Method
The secret to a perfect reheated slice is to use a skillet over medium‑low heat, cover with a lid, and add a tablespoon of water. The steam revives the custard while the bottom crisps up, mimicking that fresh‑out‑of‑the‑oven texture.