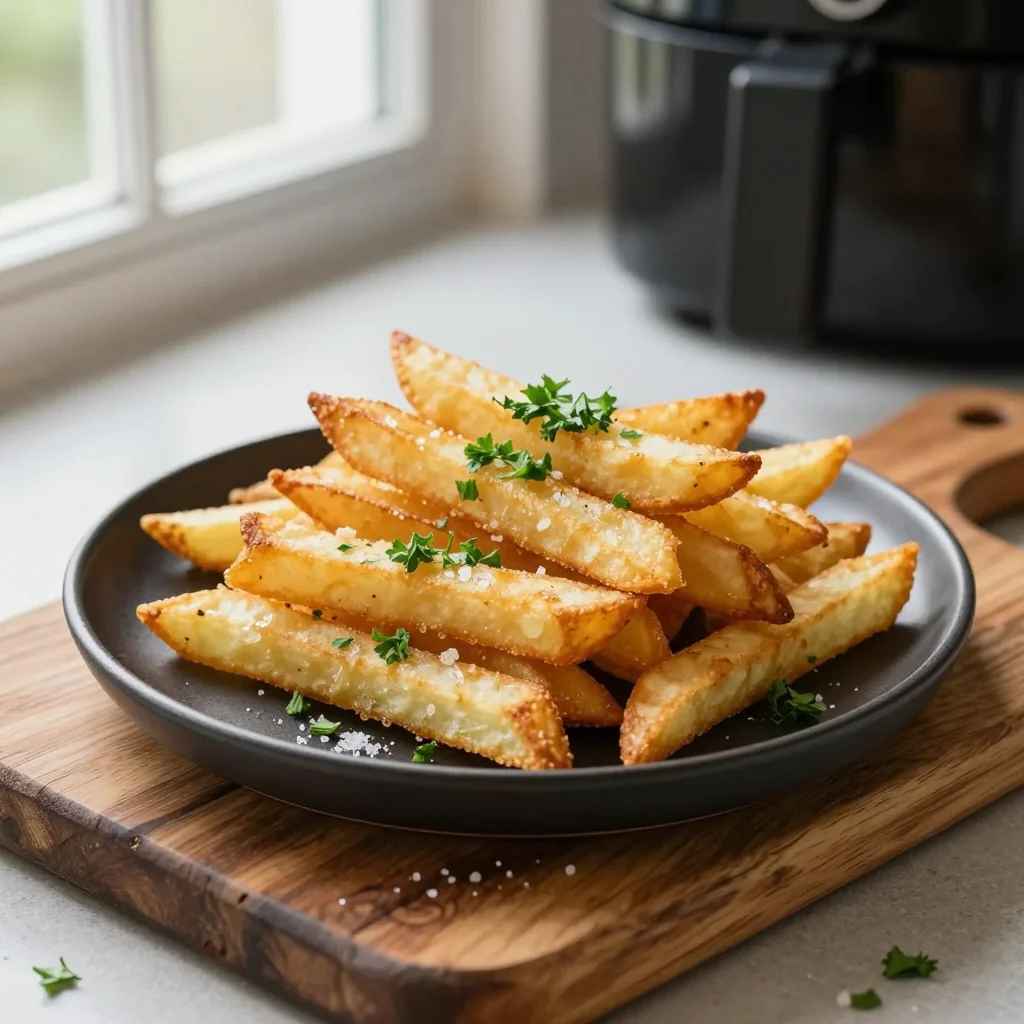
Crispy, golden‑brown fries tossed with fragrant garlic and herbs, all cooked to perfection in your air fryer.
There’s something undeniably magical about the first bite of a perfectly crisp fry—its satisfying crunch, the gentle steam of garlic, and the whisper of herbs that instantly transports you to a sun‑kissed patio in the Mediterranean. I first fell in love with this dish on a chilly November evening when my sister, a devoted air‑fryer enthusiast, offered me a plate of her “secret” garlic fries. The aroma was intoxicating, the texture unbelievably light, and the flavor, a harmonious blend of garlic’s pungency and rosemary’s earthiness, made me realize that comfort food could also be elegant.
Garlic fries have their roots in classic French “pommes frites” but have evolved across cultures, becoming a staple in American diners, British pubs, and even street markets in Southeast Asia where they’re often paired with spicy sauces. What makes this air‑fryer version special is the ability to achieve that coveted crispness without drowning the potatoes in oil, preserving the bright garlic flavor while keeping the dish a touch healthier.
In this article, I’ll walk you through every nuance—from selecting the right potatoes to mastering the timing of the air‑fryer—so you can recreate that restaurant‑level fry experience at home. You’ll also discover why a few simple tweaks, like adding a sprinkle of Parmesan at the end, can elevate the dish from a side to a star.
Ready to dive in? Let’s get those potatoes prepped and bring a burst of aromatic crunch to your table!
🌟 Why This Recipe Will Captivate You
Garlic Fries Air Fryer combine convenience, flavor depth, and a guilt‑free crunch that makes them perfect for any occasion.
- ✨ Irresistible Crunch: The rapid hot‑air circulation creates a uniformly golden exterior while keeping the interior fluffy, delivering that classic fry texture without excess oil.
- ✨ Bold Garlic‑Herb Symphony: Fresh minced garlic, rosemary, and thyme infuse each fry, offering layered aromatics that develop as the fries cook.
- ✨ Health‑Conscious: Using just two tablespoons of olive oil reduces fat content dramatically compared to deep‑frying, yet the fries remain decadently satisfying.
- ✨ Speedy Preparation: From start to finish the recipe takes under 40 minutes, perfect for busy weeknights or spontaneous gatherings.
- ✨ Versatile Pairings: Whether served alongside a juicy burger, a crisp salad, or a creamy dip, these fries complement a wide range of dishes.
- ✨ Easy Customization: Swap herbs, add a dash of smoked paprika, or finish with Parmesan—each variation adds a new personality without complicating the process.
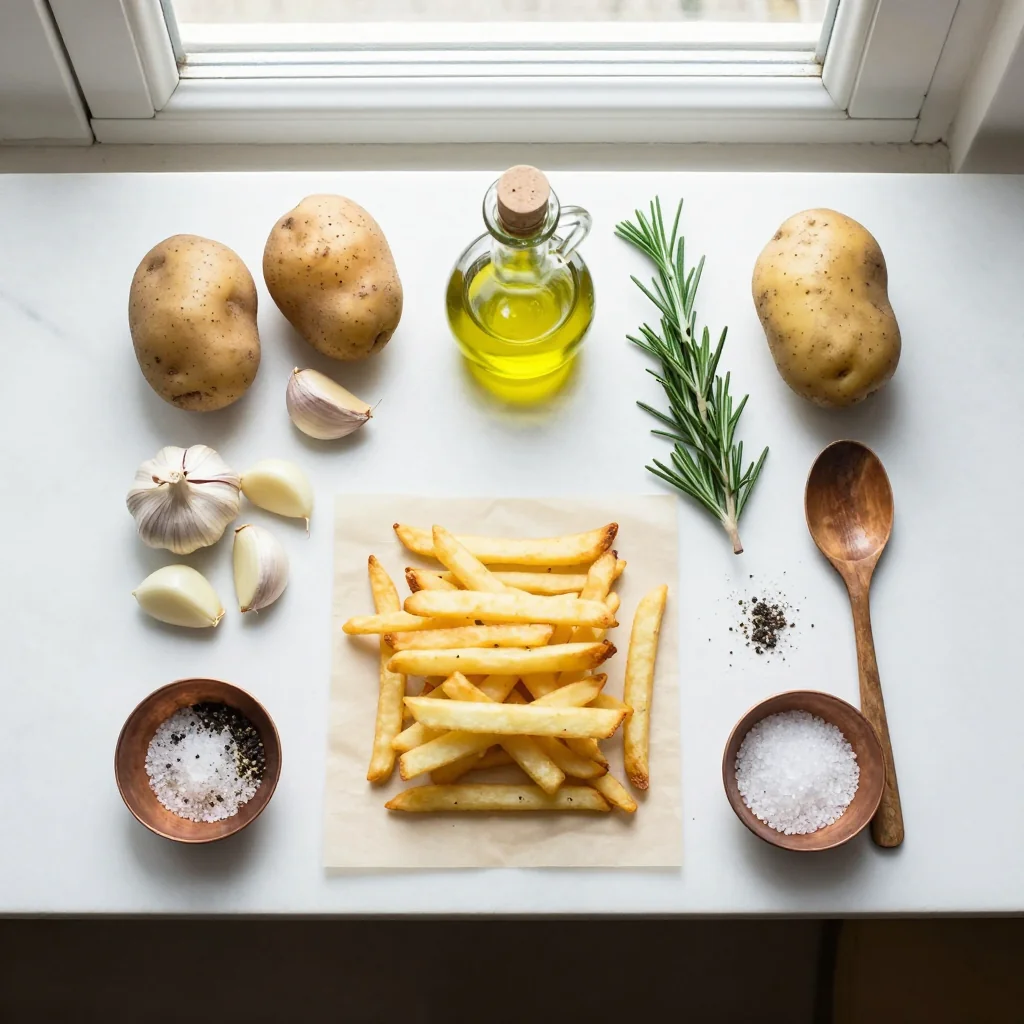
🥗 The Ingredients
📝 Complete Ingredient List
For the Fries:
For the Garlic‑Herb Mix:
For the Seasoning Finish:
🔍 Focus on Key Ingredients
Russet Potatoes
Russet potatoes are high in starch and low in moisture, which makes them ideal for achieving that coveted golden exterior while staying fluffy inside. Look for potatoes that feel firm to the touch and have a uniform shape. If you prefer a slightly sweeter note, you can substitute Yukon Golds, but expect a softer crust.
Fresh Garlic
Fresh garlic delivers a pungent, aromatic punch that transforms simple fries into a flavor powerhouse. When minced finely, the garlic distributes evenly, preventing any raw bite. For a milder flavor, you can roast the garlic cloves before mincing them, which adds a subtle caramelized sweetness.
Rosemary & Thyme
These herbs bring an earthy, piney aroma that pairs beautifully with potatoes. Use only the leaves; stems can be woody. If you don’t have fresh herbs, dried versions can be used at one‑third the amount—just remember to crush them between your fingers to release their oils.
🔄 Quick Substitutions
| If you don’t have… | Use instead… |
|---|---|
| Olive oil | Avocado oil (higher smoke point) |
| Fresh rosemary | Dried rosemary (1 tsp) |
| Parmesan cheese | Nutritional yeast (vegan, adds cheesy flavor) |
👨🍳 Step‑by‑Step Instructions
Follow these detailed steps to ensure each fry is evenly coated, perfectly crisp, and bursting with garlic‑herb goodness.
📋 Phase 1: Preparation & Mise en Place
Getting everything ready before you start the air fryer ensures a smooth cooking process.
Cut the potatoes
Wash the russet potatoes under cold water, then peel them if you prefer skin‑less fries. Slice each potato into uniform sticks about ½‑inch thick; uniformity guarantees even cooking. Soak the cut fries in a bowl of cold water for at least 10 minutes to remove excess starch, which helps achieve extra crispness.
Prepare the garlic‑herb mixture
While the potatoes soak, mince the garlic cloves finely. Combine the minced garlic with chopped rosemary and thyme in a small bowl. Add a pinch of sea salt to help draw out moisture from the herbs, intensifying their flavor.
🔥 Phase 2: Cooking & Assembly
Now the magic happens inside the air fryer.
Season the fries
Drain the soaked potatoes and toss them in a large bowl with olive oil, sea salt, and the garlic‑herb mixture. Ensure each fry is evenly coated; the oil helps the herbs adhere and promotes browning. Let the seasoned fries rest for 5 minutes to allow the flavors to meld.
Pre‑heat the air fryer
Set your air fryer to 200 °C (392 °F) and let it pre‑heat for 3 minutes. A hot environment at the start helps create an immediate crust on the fries.
Cook the fries
Place the seasoned potatoes in the basket in a single layer; you may need to work in batches for 4 servings. Cook for 12‑15 minutes, shaking the basket halfway through to ensure even browning. The fries should turn a deep golden‑brown and feel crisp to the touch.
Add final seasonings
Immediately after removing the fries, sprinkle black pepper, smoked paprika, and grated Parmesan (if using) over the hot fries. The residual heat will melt the cheese slightly, creating a savory glaze.
✨ Phase 3: Finishing & Serving
The final touches that turn good fries into unforgettable ones.
Check for doneness
Insert a fork into a fry; it should slide in easily, and the interior should be tender. The exterior must be crisp, making a satisfying “snap” when bitten.
Plate the fries
Transfer the fries to a serving platter lined with a paper towel to absorb any excess oil. Garnish with an extra pinch of fresh rosemary leaves for visual appeal and an aromatic lift.
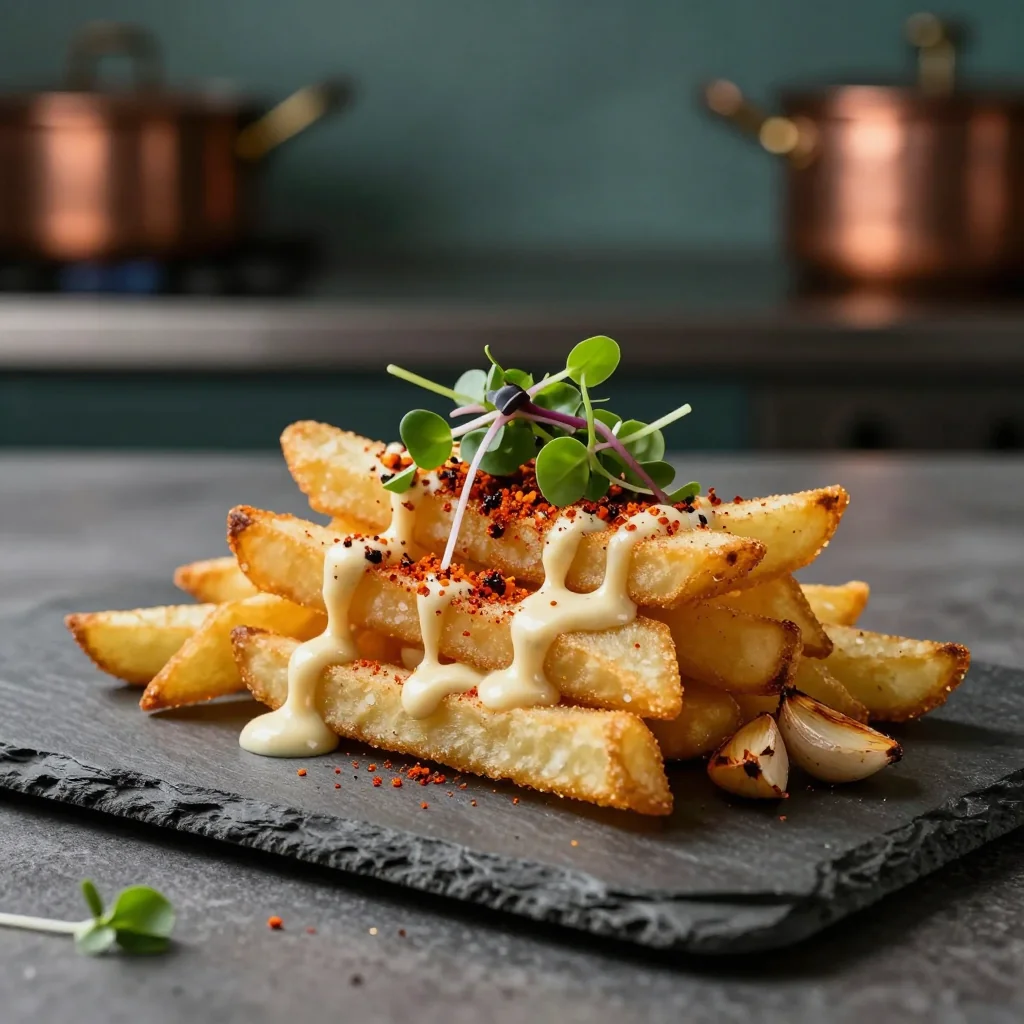
Optional dipping sauces
Serve alongside aioli, spicy sriracha mayo, or a simple lemon‑yogurt dip. The bright acidity of lemon pairs wonderfully with the garlic and herb flavors.
Enjoy immediately
Garlic fries are best enjoyed hot, while the crust is still crisp. Pair them with your favorite main dish or savor them as a hearty snack.
💡 Expert Tips & Tricks
🛒 Choosing the Right Ingredients
When selecting potatoes, avoid those with green spots or sprouts—they indicate age and can taste bitter. Fresh herbs should have no yellowing; a quick sniff will tell you if they’re still fragrant. For garlic, look for firm cloves with tight skins; soft or sprouting cloves lose potency and can add unwanted moisture.
🔪 Preparation Techniques
After cutting, a brief soak in ice‑water not only removes starch but also firms the potato sticks, reducing breakage. Pat them completely dry before seasoning; any water left will steam the fries, preventing that coveted crunch.
🌡️ Mastering the Cooking Process
Every air fryer model varies slightly. If your fries aren’t as crisp as you’d like, increase the temperature by 10 °C for the final 3‑4 minutes and avoid opening the basket too often. A light spray of additional oil (just a mist) can rescue fries that seem a bit dry.
🍽️ Presentation & Service
Serve the fries on a wooden board for a rustic look, and sprinkle a few fresh herb leaves just before serving. Adding a wedge of lemon on the side invites diners to add a bright zing, balancing the richness of garlic and oil.
🏆 Pro Tips
Professional chefs know that small adjustments can transform a good dish into a legendary one.
- 🎯 Pre‑season the potatoes: Toss the raw potato sticks with a pinch of salt and let them rest for 15 minutes before adding oil. This draws out moisture, resulting in a dryer surface that crisps faster.
- 🎯 Use a two‑stage cooking method: Start at 200 °C for the first 8 minutes, then increase to 210 °C for the remaining time. The initial lower temperature cooks the interior gently, while the final burst creates a deep crust.
- 🎯 Incorporate a flash of acidity: After cooking, drizzle a thin line of lemon juice over the fries. The acid brightens the garlic flavor and cuts through any residual oiliness.
- 🎯 Double‑coat for extra crunch: Lightly dust the fries with a mixture of cornstarch and a pinch of paprika before air‑frying. The starch forms a delicate shell that amplifies crunch without adding calories.
- 🎯 Finish with a cold butter glaze: Melt a tablespoon of butter, add a dash of garlic powder, and toss the hot fries just before serving. The butter adds richness while the cold temperature prevents sogginess.
- 🎯 Store the herbs properly: Keep rosemary and thyme in a glass of water in the refrigerator, covered loosely with a plastic bag. This extends freshness for up to two weeks, ensuring you always have aromatic herbs on hand.
“Great cooking is about balance—texture, flavor, and timing all dance together.” — Thomas Keller
🔄 Variations & Adaptations
Garlic fries are a versatile canvas; feel free to experiment with flavors, dietary needs, and family preferences.
🥬 Vegetarian / Vegan Version
Replace Parmesan cheese with nutritional yeast for a cheesy, vegan-friendly finish. Use avocado oil instead of olive oil for a neutral flavor that still yields a crisp texture.
- Nutrition yeast (1 tsp) – adds umami and B‑vitamins.
- Avocado oil (2 tbsp) – higher smoke point, neutral taste.
🌶️ Flavor Variations
Explore global twists by swapping herbs and spices, or adding complementary ingredients.
Spicy Version:
Include ½ tsp cayenne pepper and a drizzle of sriracha after cooking. The heat pairs beautifully with the garlic’s depth.
Mediterranean Version:
Add 1 tsp dried oregano and a sprinkle of feta cheese right before serving. Finish with a squeeze of lemon for a bright Mediterranean vibe.
Asian‑Inspired Version:
Mix 1 tsp toasted sesame oil with the olive oil, and toss the finished fries with toasted sesame seeds and a splash of soy sauce.
⚠️ Dietary Adaptations
Gluten‑Free:
All ingredients are naturally gluten‑free; just ensure any added sauces are certified gluten‑free.
Lactose‑Free:
Skip the Parmesan or replace it with dairy‑free cheese alternatives.
Low‑Calorie:
Reduce olive oil to 1 tbsp, and use a spray bottle to mist the potatoes lightly. Increase the amount of herbs for flavor without extra calories.
👶 Kid‑Friendly Version
Omit the garlic for the youngest eaters and replace smoked paprika with a mild sweet paprika. Serve with a side of ketchup or honey mustard for familiar dipping options.
📦 Storage & Reheating
🧊 Conservation
In the Refrigerator:
- Duration: 3 days
- Recommended container: Airtight plastic container or zip‑lock bag.
- Tip: Place a paper towel at the bottom to absorb any excess moisture.
In the Freezer:
- Duration: 1 month
- Method: Cool the fries completely, then spread them on a baking sheet and freeze individually before transferring to a freezer bag.
- Defrosting: Transfer to the refrigerator overnight or reheat directly from frozen in the air fryer.
💡 For best texture, avoid microwaving frozen fries; the air fryer restores crispness without sogginess.
♨️ Reheating
🔥 Oven (Recommended):
- Preheat to 200 °C (392 °F).
- Spread fries on a baking sheet, cover loosely with foil.
- Reheat for 8‑10 minutes.
- Remove foil and continue for 3‑4 minutes to re‑crisp.
⚡ Microwave (Quick):
- Place fries on a microwave‑safe plate, cover with a microwave‑safe lid.
- Heat on medium power for 1 minute, stir, then another 30 seconds if needed.
🍳 Skillet:
Heat a non‑stick skillet over medium‑high heat, add a drizzle of oil, and toss the fries for 3‑4 minutes until the edges regain their crunch.
🍷 Perfect Pairings
🥗 Side Dishes
- Mixed Green Salad: A light vinaigrette balances the richness of the fries.
- Coleslaw: Creamy slaw adds texture contrast and a tangy bite.
- Grilled Chicken Skewers: Protein‑rich skewers turn the meal into a complete dinner.
🍷 Wine & Drink Pairings
- Dry Sauvignon Blanc: Its crisp acidity cuts through the garlic and oil.
- Light‑bodied Pinot Noir: Offers subtle fruit notes that complement the herbs.
- Non‑alcoholic: Sparkling water with a slice of lemon adds freshness.
🍰 Completing the Meal
Start with a simple tomato bruschetta, follow the garlic fries with a grilled steak or veggie burger, and finish with a lemon‑yogurt parfait for a refreshing dessert that echoes the citrus notes in the dish.
❓ Frequently Asked Questions
Q: Can I use sweet potatoes instead of russet potatoes?
Yes, sweet potatoes can be substituted, but they contain more moisture and natural sugars, which may result in a slightly softer interior and a caramelized exterior. To maintain crispness, cut them a bit thicker and consider a brief pre‑soak in cold water followed by thorough drying.
Q: How do I prevent the garlic from burning?
Garlic burns quickly at high heat. By mincing it finely and mixing it with oil and herbs before cooking, the oil protects the garlic. If you notice a strong bitter aroma, reduce the cooking temperature by 5‑10 °C in the final minutes or add the garlic halfway through the cooking time.
Q: My fries turned out soggy—what went wrong?
Sogginess is usually caused by excess moisture. Ensure the potatoes are fully dried after soaking, avoid overcrowding the air‑fryer basket, and use the recommended oil amount. A brief pre‑heat of the air fryer also helps create an immediate crust.
Q: Can I make this recipe vegan?
Absolutely. Replace olive oil with avocado oil or any neutral oil, and swap Parmesan cheese for nutritional yeast. The flavor profile remains robust, and the nutritional yeast adds a cheesy umami note.
Q: How can I make the fries spicier without overwhelming the garlic?
Add a modest amount of cayenne pepper (¼‑½ tsp) to the seasoning blend, or drizzle a thin line of sriracha after cooking. Both options give a gentle heat that complements rather than overpowers the garlic.
Q: Is it possible to prepare the fries ahead of time?
Yes. You can cut, soak, and season the potatoes up to 24 hours in advance, storing them in an airtight container in the fridge. Before cooking, let them come to room temperature for even cooking.
🎉 Let’s Get Cooking!
Garlic Fries Air Fryer are a celebration of simple ingredients elevated by technique. The combination of crisp potatoes, aromatic garlic, and fresh herbs creates a side dish that feels both comforting and refined. Whether you’re serving them with a weekend brunch, a family dinner, or as a snack for movie night, they’re sure to earn rave reviews from friends and family alike.
Give this recipe a try, experiment with the variations, and don’t be afraid to make it your own. Remember, the best dishes are those that spark conversation and bring people together around the table.
Have you tried this recipe?
Leave a comment and rating below! Share your photos on Instagram with #GarlicFriesAirFryer for a chance to be featured.
Garlic Fries Air Fryer
Crispy, garlicky fries made effortlessly in an air fryer.
📝 Ingredients
Fries
Garlic‑Herb Mix
Seasoning Finish
👨🍳 Instructions
- 1
Wash, peel, and cut potatoes into ½‑inch sticks.
- 2
Soak the sticks in cold water for 10 minutes, then pat dry.
- 3
Toss potatoes with olive oil, sea salt, minced garlic, rosemary, and thyme.
- 4
Pre‑heat the air fryer to 200 °C (392 °F) for 3 minutes.
- 5
Place fries in a single layer; cook 12‑15 minutes, shaking halfway.
- 6
Sprinkle black pepper, smoked paprika, and Parmesan over hot fries.
- 7
Check for tenderness inside and crispness outside.
- 8
Transfer to a serving platter; garnish with fresh rosemary leaves.
- 9
Serve with your choice of dipping sauce.
- 10
Enjoy immediately while hot and crunchy.
🥗 Nutritional Information (per serving)
*Values are estimates based on standard ingredient data.
📚 You Might Also Like

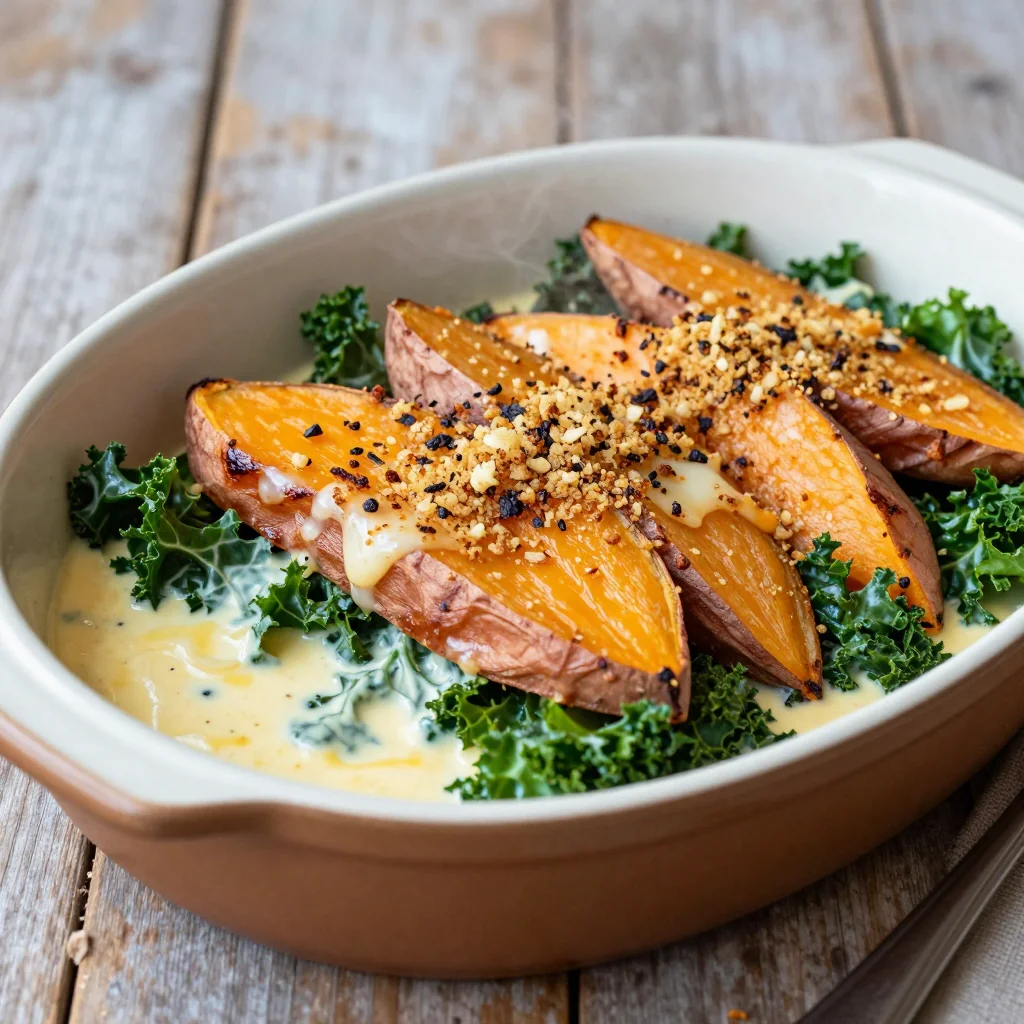
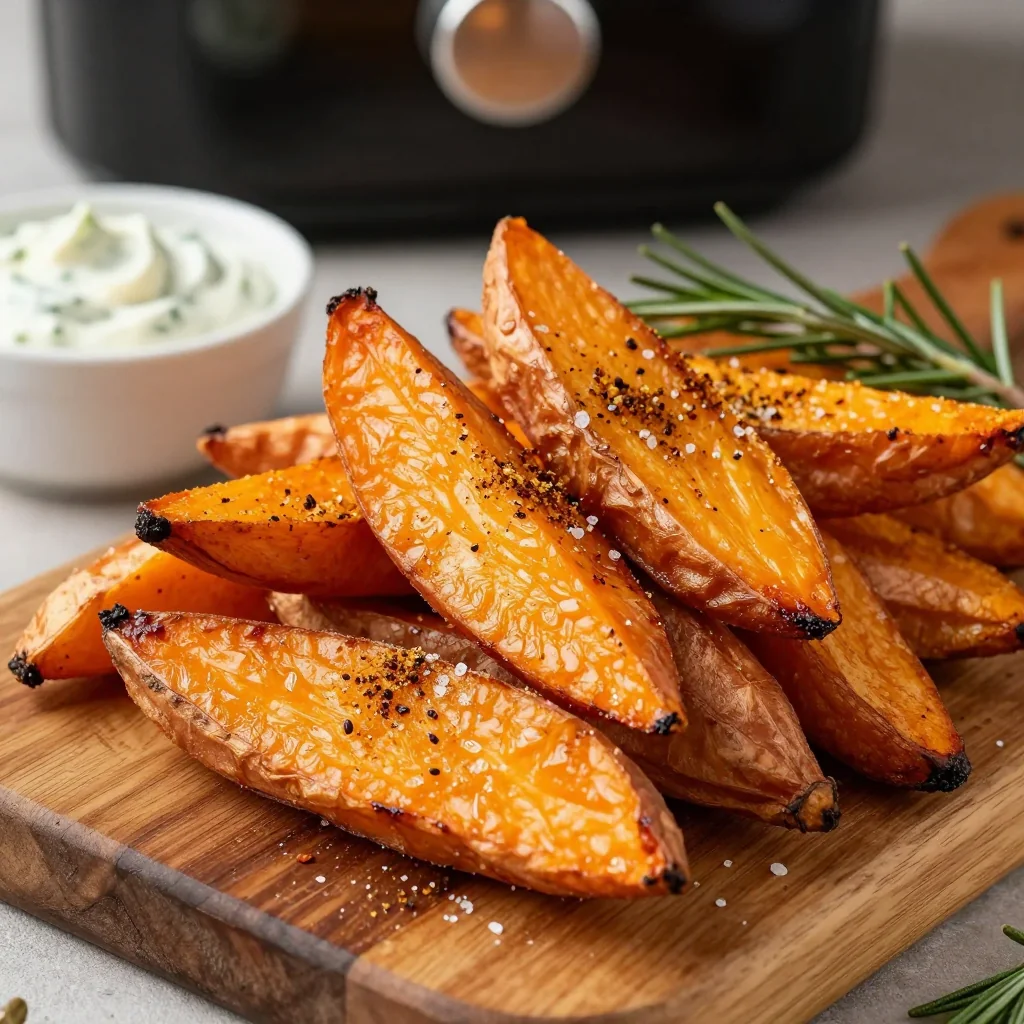
Crispy Sweet Potato Wedges

Herb‑Roasted Chicken Thighs

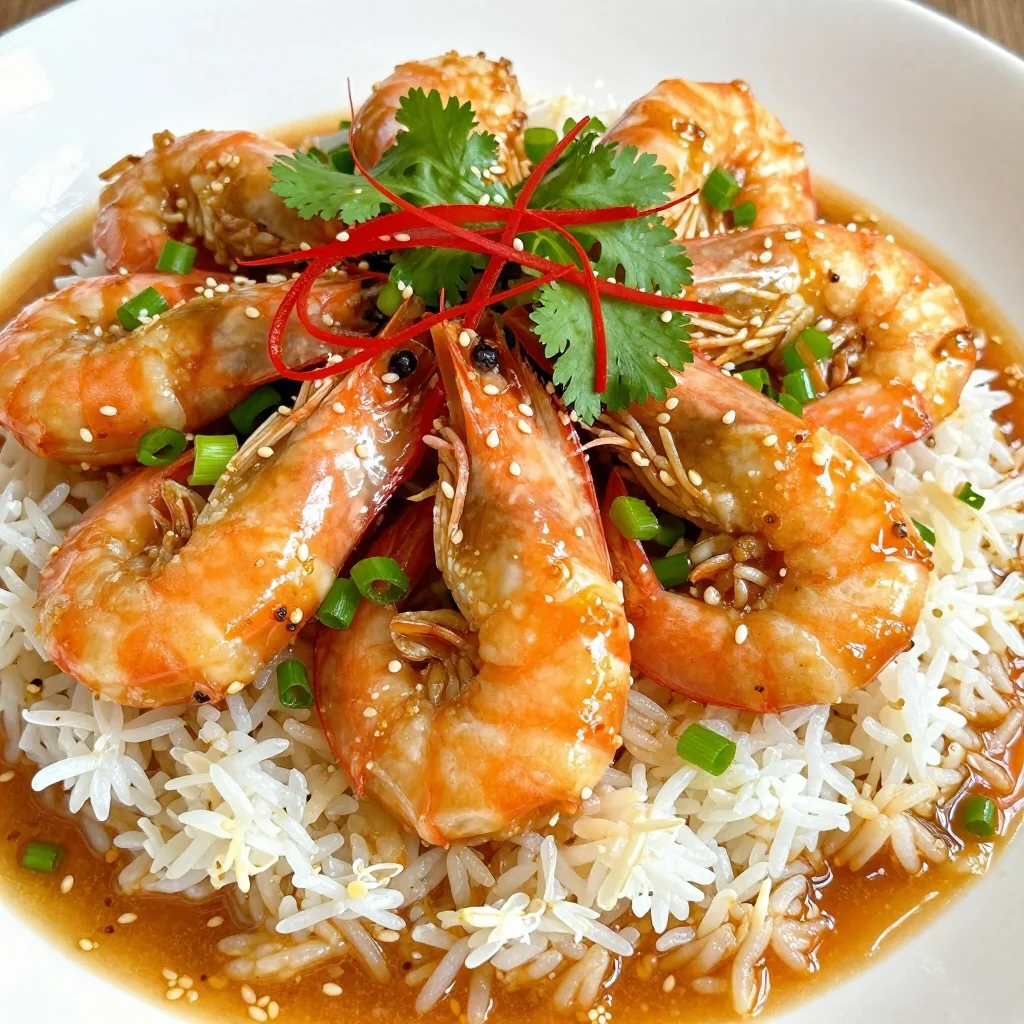
Spicy Sriracha Mayo Dip


💬 Comments & Reviews
Leave a Comment
No comments yet. Be the first to share your thoughts!