It was a bright, spring afternoon and I was knee-deep in a pile of stale graham crackers, a melted butter bowl, and a jar of sugar that looked like it had been abandoned in a pantry for years. I had promised myself that this Easter would be the day I finally nailed a dessert that would make my friends gasp, not sigh. The kitchen smelled of butter, sugar, and the faint citrus tang of lemon zest, a scent that instantly pulled me back to childhood afternoons spent making no-bake treats with my grandma. The chaos that ensued when I tried to whip up a classic cheesecake—only to end up with a lumpy, soggy mess—became the catalyst for this recipe.
Picture this: you’re standing in front of a countertop that’s a mosaic of flour, sugar, and the faint glow of a refrigerator light, the sound of a blender whirring like a small, contented dragon. Your senses are assaulted by the sweet aroma of vanilla, the metallic tang of fresh lemon, and the faint, comforting scent of melted butter. The texture of the batter is silky, the slightest touch revealing a creamy, smooth consistency that feels like a promise of decadence. The visual appeal is undeniable—tiny swirls of strawberry puree glimmering within a creamy base, like miniature works of art. The anticipation builds as you think about the first bite, a symphony of sweet, tangy, and creamy flavors dancing on the palate.
What sets this version apart is not just the no-bake aspect but the meticulous layering of flavors and textures that create a dessert that feels both indulgent and refreshingly light. The use of fresh fruit puree as a swirl, the subtle hint of almond extract, and the perfect balance between the buttery crust and the airy filling make this recipe a game-changer. It’s the kind of dessert that turns a simple gathering into an unforgettable celebration. I dare you to taste this and not go back for seconds. This is hands down the best version you'll ever make at home.
If you've ever struggled with making a no-bake dessert that actually holds its shape, you're not alone. I’ve been there—mixing, whisking, and then watching the whole batch collapse into a soggy mess. But fear not. I’ve cracked the code, and by the end of this post, you’ll wonder how you ever made it any other way. Let me walk you through every single step—by the end, you'll be the master of mini swirl cheesecake.
What Makes This Version Stand Out
- Texture: The crust is crisp and buttery, yet the filling is silky smooth, creating a contrast that feels like biting into a cloud.
- Flavor: Fresh strawberry puree swirls through a vanilla-cream cheese base, adding a burst of natural sweetness that balances the tang of lemon zest.
- Simplicity: No oven, no complex equipment—just a few kitchen staples and a blender.
- Uniqueness: The almond extract adds a nutty undertone that elevates the dessert beyond typical no-bake cheesecakes.
- Crowd Reaction: Guests often ask for the recipe after the first bite, and the mini size makes it perfect for parties.
- Ingredient Quality: Using high‑grade cream cheese and fresh fruit ensures the best taste and texture.
- Make‑ahead Potential: The dessert can be prepared up to 48 hours in advance, making it a stress‑free option for busy hosts.
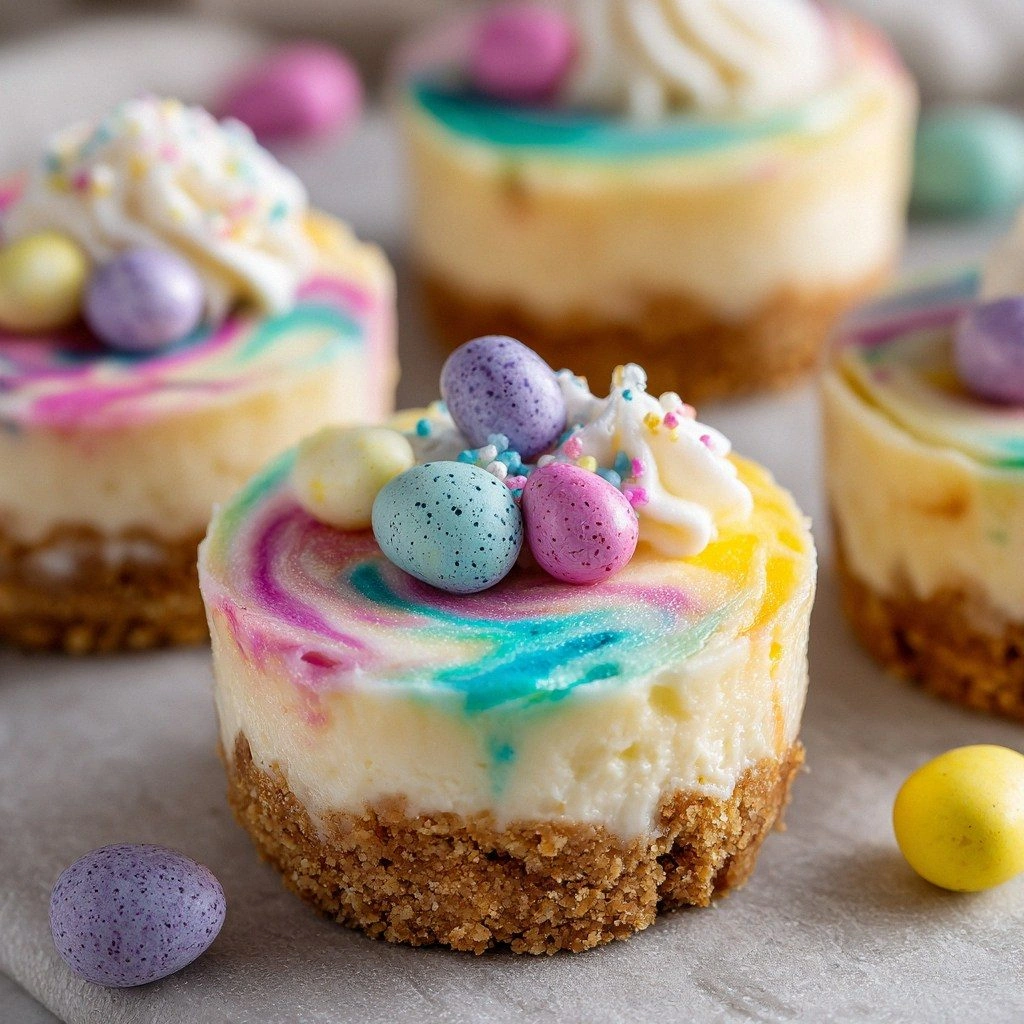
- Visual Appeal: The swirl effect looks like a miniature work of art, perfect for Instagram moments.
Inside the Ingredient List
The Flavor Base
The foundation of this dessert starts with the graham cracker crumbs. They provide the sweet, buttery backbone that holds the filling together. If you skip them, the mini cheesecakes will fall apart like a paper airplane in a wind tunnel. For a slightly healthier twist, you can replace them with oat crackers, but the classic graham flavor is irreplaceable for this recipe.
The Texture Crew
Unsalted butter and granulated sugar create a crunchy, caramelized crust when combined with the crumbs. The butter must be melted and cooled to room temperature before mixing; otherwise, the crust will be too dense. A pinch of salt balances the sweetness, preventing the filling from tasting one-dimensional. If you’re feeling adventurous, sprinkle a pinch of sea salt on top after chilling for that subtle crunch.
The Unexpected Star
Fresh strawberries, pureed to a smooth consistency, are the secret weapon that gives this dessert its signature swirl. The natural sugars in the fruit elevate the overall flavor profile, cutting through the richness of the cream cheese. If strawberries are out of season, blueberries or mango puree work wonderfully, offering a different yet equally delightful twist. Remember, the puree should be thick enough to stay in place but thin enough to blend seamlessly with the cream cheese.
The Final Flourish
Heavy cream, chilled to near freezing, is whipped to soft peaks and folded into the cream cheese mixture. This step is crucial for achieving that airy, cloud‑like texture that melts in your mouth. Lemon zest and lemon juice add a bright citrus note, cutting through the sweetness and creating a balanced palate. Almond extract, though optional, adds a warm, nutty undertone that lingers on the tongue and makes the dessert feel more complex.
Everything's prepped? Good. Let's get into the real action.
The Method — Step by Step
- Start by combining the graham cracker crumbs, melted butter, and granulated sugar in a bowl. Stir until the mixture resembles wet sand. The goal is a crumbly yet cohesive base that will hold the filling together. If you notice any clumps, break them up with a fork or your fingers. This is the moment where the texture starts to speak.
- Press the crumb mixture into the bottom of 12 mini cupcake liners, creating a firm crust. Use the back of a spoon or a flat-bottomed glass to press it down evenly. Let the crust chill in the refrigerator for 15 minutes to set. The crust should be firm enough to hold the creamy filling without sagging.
- In a medium bowl, beat the softened cream cheese until it’s completely smooth. Add the powdered sugar, vanilla extract, almond extract (if using), and a pinch of salt. Mix until the mixture is silky and free of lumps. The cream cheese should be at room temperature to ensure a smooth blend.
- Whip the chilled heavy cream to soft peaks. Gently fold the whipped cream into the cream cheese mixture, creating an airy, cloud-like consistency. The folding technique is critical; overmixing will deflate the air and make the filling heavy. You want a light, mousse‑like texture that will hold the swirl.
- Fold in the lemon zest and lemon juice. The citrus adds a bright pop that cuts through the richness and balances the overall flavor. If you prefer a less tart finish, reduce the lemon juice by half. Taste the mixture and adjust the sweetness if necessary.
- Divide the strawberry puree into 12 small bowls. These will be used to create the signature swirl effect. The puree should be thick enough to hold its shape when piped. If the puree is too runny, chill it for an extra 10 minutes.
- Using a piping bag or a spoon, fill each crust with a generous scoop of the cream cheese filling. Then, pipe a small line of strawberry puree on top, allowing it to swirl into the cream cheese. The swirl should look like a miniature galaxy, with the fruit’s pink hue contrasting against the creamy white.
- Garnish each mini cheesecake with a sprig of fresh mint or a dusting of powdered sugar. This adds a fresh, herbal note that complements the fruit. Place the mini cheesecakes on a tray and refrigerate for at least 4 hours, or overnight, to set.
That's it — you did it. But hold on, I've got a few more tricks that'll take this to another level.
Insider Tricks for Flawless Results
The Temperature Rule Nobody Follows
Keep everything chilled, from the heavy cream to the mixing bowls. A warm filling will not set properly, resulting in a soggy dessert. I once tried this recipe with room‑temperature cream, and the result was a disappointing puddle. Always pre‑chill your mixing bowls in the fridge for at least 15 minutes before starting.
Why Your Nose Knows Best
Before you start, take a deep sniff of the fresh strawberries. A bright, sweet aroma signals that the fruit is ripe and will add the best flavor. If the smell is flat, the puree might lack depth. A quick aroma test can save you from a bland dessert.
The 5-Minute Rest That Changes Everything
After folding in the whipped cream, let the mixture rest for 5 minutes before filling the crusts. This brief pause allows the airy texture to stabilize, preventing it from collapsing during filling. I’ve found that a short rest gives the filling a more luxurious mouthfeel.
The Swirl Technique
When piping the strawberry puree, use a gentle back‑and‑forth motion to create a clean swirl. If you press too hard, the swirl will break into a messy blob. Practice on a piece of parchment first to master the motion.
The Final Chill
Set the mini cheesecakes in the fridge for at least 4 hours, but overnight is best. The longer chill allows the flavors to meld and the crust to firm up. When you’re ready to serve, let them sit at room temperature for 10 minutes to soften slightly, making them easier to bite into.
Creative Twists and Variations
This recipe is a playground. Here are some of my favorite ways to switch things up:
Chocolate Swirl Cheesecake
Swap the strawberry puree for a dark chocolate ganache. The rich, bittersweet flavor pairs wonderfully with the creamy base. Add a sprinkle of sea salt on top for contrast.
Tropical Mango Delight
Use mango puree instead of strawberries for a tropical twist. The sweet, buttery mango complements the lemon zest and adds a vibrant color. Garnish with shredded coconut for an extra crunch.
Berry‑Mint Fusion
Add fresh mint leaves into the cream cheese mixture for a refreshing minty kick. The mint pairs beautifully with the strawberry swirl, creating a layered flavor experience. This version is perfect for summer gatherings.
Caramelized Banana Swirl
Blend caramelized bananas into a puree and swirl it into the filling. The caramelized sugar brings depth, while the banana adds natural sweetness. A pinch of cinnamon on top enhances the warm notes.
Lemon‑Honey Bliss
Use a honey‑lemon puree instead of strawberry. The honey’s floral undertones complement the bright citrus, creating a light yet satisfying dessert. A dusting of powdered sugar gives it a sweet finish.
Almond‑Pecan Crunch
Add chopped toasted almonds or pecans to the crust for an added crunch. The nutty flavor complements the almond extract in the filling. This variation works great for holiday celebrations.
Storing and Bringing It Back to Life
Fridge Storage
Store the mini cheesecakes in an airtight container in the refrigerator for up to 3 days. The chilled environment keeps the filling firm and the crust crisp. When you’re ready to serve, let them sit at room temperature for 10 minutes for optimal texture.
Freezer Friendly
For longer storage, individually wrap each mini cheesecake in plastic wrap and place them in a freezer bag. They can be frozen for up to 48 hours without compromising flavor. Thaw overnight in the fridge before serving.
Best Reheating Method
If you need to warm them slightly, place the mini cheesecakes on a plate and microwave on low power for 10–15 seconds. Add a tiny splash of water to the filling before microwaving; this steams the dessert back to perfection, keeping it moist and creamy.