Picture this: I’m standing in a kitchen that smells like chocolate and fresh cream, my phone buzzing with a frantic text from a friend who dared me to create the ultimate mini cheesecake with a brownie base. The moment the oven timer blares, I realize the stakes are high—this is not just a dessert, it’s a culinary showdown. The first bite should hit you with a buttery, fudgy bottom, followed by a silky, tangy cheesecake that melts in your mouth like a dream. If you’ve ever tried a plain mini cheesecake, you’ve tasted disappointment; this version is the antidote that turns every bite into a celebration.
From the first glance at the batter, you’ll know this isn’t ordinary. The glossy chocolate crust glistens like a dark, velvet curtain, and the aroma of cocoa mingles with the sweet scent of cream cheese, promising layers of flavor that dance together. The texture is a paradox: a crisp edge that shatters like thin ice when you bite, revealing a gooey, airy center that feels like a cloud. I dare you to taste this and not go back for seconds, because once you do, you’ll never settle for a flat, lifeless dessert again. That sizzle when the batter hits the pan? Absolute perfection, and it’s the first hint that you’re about to create something truly remarkable.
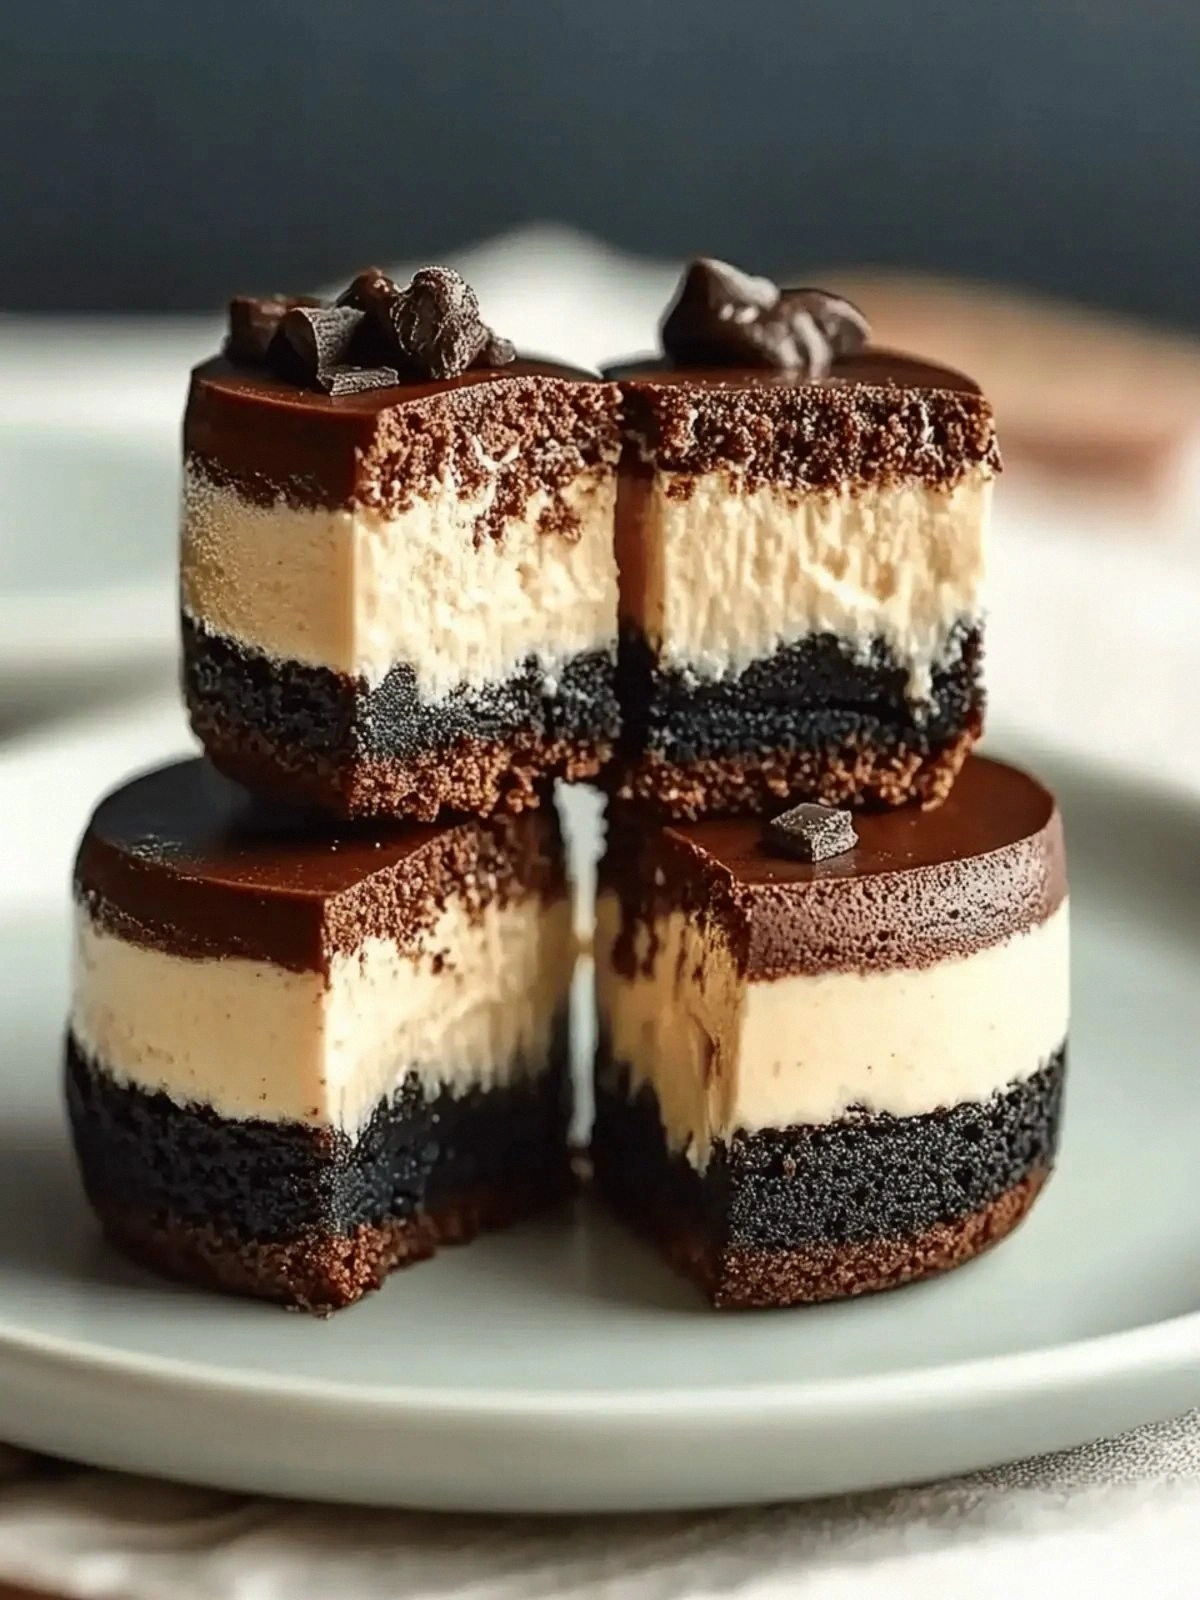
What makes this recipe a game‑changer is the way the brownie base and the cheesecake layer are fused, creating a harmony that most people miss. The brownie bottom is not just a sweet foundation; it’s a flavor bomb that adds depth and a hint of bitterness that balances the rich, creamy filling. The mini size allows for a perfect bite, where the chocolate and cheesecake meet in a single, unforgettable mouthful. Most recipes get this completely wrong—here’s what actually works: a balanced ratio of chocolate to cream, a precise baking time, and a chilling step that locks in the texture. If you’ve ever struggled with a soggy bottom or a cheesecake that cracked, you’re not alone, and I’ve got the fix.
Picture yourself pulling these from the oven, the whole kitchen smelling incredible, and the mini cheesecakes looking like little works of art. The moment the timer dings, a rush of warmth and chocolatey sweetness fills the air, and you can almost taste the first bite. I’ve spent hours refining the method so that each piece comes out with the same flawless consistency, no matter how many you bake at once. Let me walk you through every single step—by the end, you’ll wonder how you ever made it any other way.
What Makes This Version Stand Out
- Flavor Fusion: The combination of chocolate and cream cheese creates a depth of taste that feels both decadent and balanced. The cocoa’s slight bitterness cuts through the sweetness of the batter, leaving a lingering finish that keeps you craving more.
- Texture Mastery: The brownie base is chewy yet crisp, while the cheesecake layer is airy and silky, resulting in a multi‑sensory experience that’s impossible to replicate with standard recipes.
- Mini‑Sized Perfection: Each bite is a complete, bite‑sized dessert, making it ideal for parties, potlucks, or a quick indulgence. The small size also means the flavors meld more quickly, giving you that first‑bite wow factor.
- Simple Prep: Despite the complex flavor profile, the recipe uses only a handful of ingredients, and the steps are straightforward enough for beginners to follow without feeling overwhelmed.
- Make‑Ahead Friendly: You can assemble the cheesecakes a day in advance and chill them, and they’ll still taste fresh and delicious when you’re ready to serve.
- Crowd‑Pleaser: Friends and family will be amazed at how the brownie and cheesecake blend seamlessly. The unique presentation also makes it a showstopper on any dessert table.
- Ingredient Quality: Using high‑quality cocoa and cream cheese elevates the flavor, and the recipe allows you to swap in organic or dairy‑free alternatives if you’re looking for a healthier version.
- Versatile Variations: From adding espresso to the batter to topping with fresh berries, the recipe offers endless possibilities to customize your mini cheesecakes.
Alright, let’s break down exactly what goes into this masterpiece…
Inside the Ingredient List
The Flavor Base
At the heart of this dessert is the brownie batter, which sets the tone for the entire dish. Unsalted butter melts into the mixture, creating a buttery richness that feels indulgent. Granulated sugar sweetens the batter, but be careful not to overmix; you want a slight grittiness that adds texture. Vanilla extract brings warmth and depth, tying the chocolate and cream cheese together. If you’re feeling adventurous, swap the vanilla for almond extract for a subtle nutty twist.
The Texture Crew
The eggs are the glue that binds the batter, giving it structure and a tender crumb. The cocoa powder provides the chocolate flavor and a slightly bitter counterpoint to the sweetness. All‑purpose flour keeps the batter from spreading too much, while the baking powder ensures a light rise. Salt is essential; it enhances the chocolate’s flavor and balances the sweetness. A pinch of baking soda can be added if you want an extra lift, but be cautious—too much can lead to a soapy taste.
The Unexpected Star
The cream cheese is the star that transforms a simple brownie into a decadent cheesecake. It’s thick, creamy, and packed with tang that cuts through the chocolate richness. Use a high‑fat cream cheese for a richer flavor, or opt for a low‑fat version if you’re watching calories. The second portion of granulated sugar sweetens the filling, but you can replace it with honey or maple syrup for a different profile. The chocolate chips add a delightful crunch and a burst of chocolate that complements the batter.
The Final Flourish
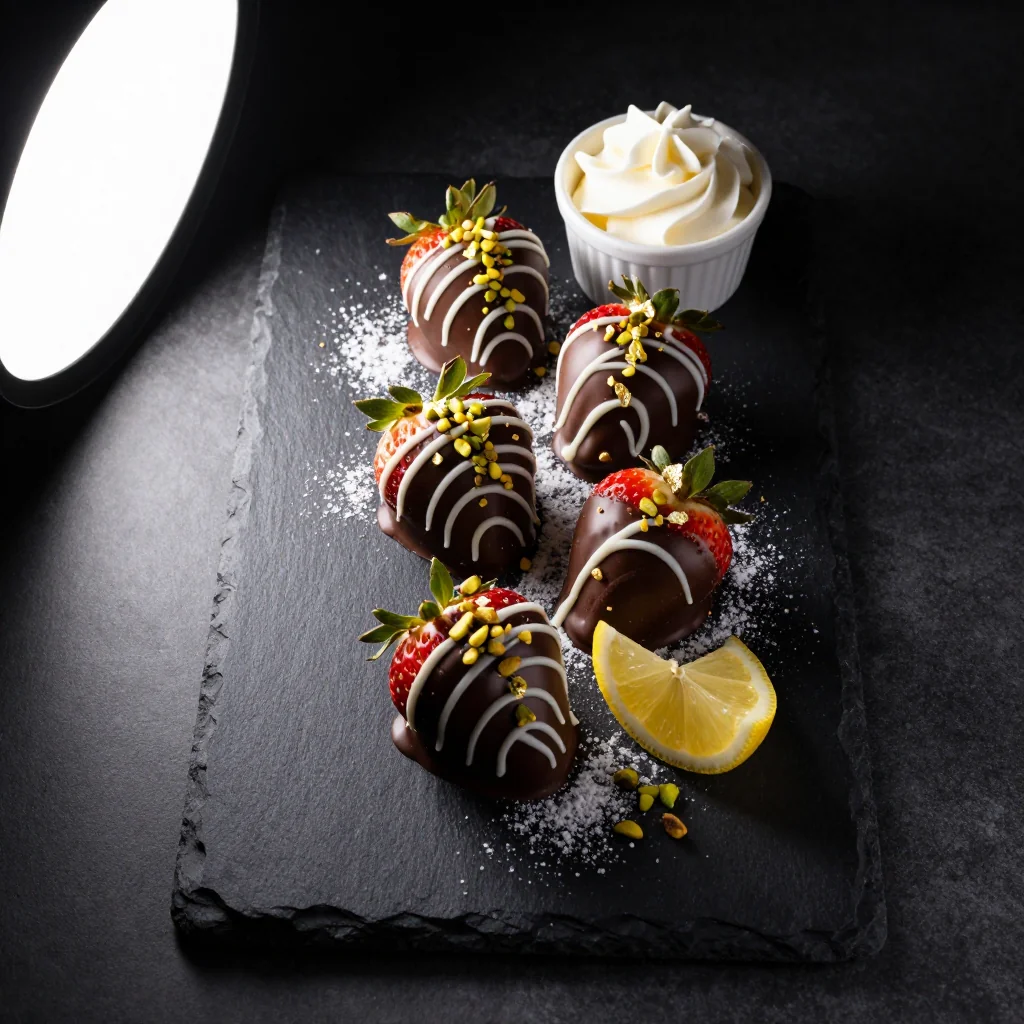
Fresh berries aren’t just a garnish; they provide acidity that brightens the dessert and a pop of color that makes the presentation irresistible. The berries also add moisture, preventing the cheesecake from becoming too dry. Choose berries that are in season for maximum flavor—strawberries in summer, blueberries in late summer, or raspberries in early fall. If you’re in a pinch, frozen berries work fine; just thaw them and pat them dry before using.
Everything’s prepped? Good. Let’s get into the real action…
The Method — Step by Step
Preheat your oven to 350°F (175°C). Line a mini muffin tin with paper liners, ensuring each cup is snugly fitted. This prevents the batter from overflowing and makes cleanup a breeze. The liners also give each cheesecake a uniform shape, so they bake evenly. Once the oven is hot, set a timer for 12 minutes, which is the baseline for the brownie layer.
While the oven warms, melt the butter in a medium saucepan over medium heat. Stir in the sugar until it dissolves, creating a silky syrup. Add the eggs one at a time, whisking vigorously after each addition to maintain a smooth batter. The mixture should look glossy and pourable—if it’s too thick, add a splash of milk.
Stir in the vanilla, cocoa, flour, baking powder, and salt. Mix until just combined; overmixing can make the brownies tough. The batter should be thick yet pourable. If it looks too thick, add a tablespoon of water or milk. This step is critical for achieving that perfect brownie texture.
Divide the batter evenly among the lined cups, filling each about 1/3 full. The batter should sit on the bottom, not spill over the sides. Gently tap the tin on the counter to release any air bubbles. The batter will rise slightly as it bakes, so don’t worry if it looks a bit flat.
Bake the brownies for 12 minutes, or until the edges start pulling away from the sides of the liners. The top should still be slightly wet; it will set as the cheesecake layer cooks. This is the moment of truth—watch the colors change from dark brown to a glossy chocolate.
While the brownies bake, prepare the cheesecake filling. In a bowl, beat the cream cheese on medium speed until creamy and smooth. Add the second cup of sugar and continue beating until the mixture is light and fluffy. The texture should be airy, like a cloud. Add the chocolate chips and stir until evenly distributed.
Reduce the oven temperature to 325°F (163°C). Carefully remove the partially baked brownies from the oven and let them cool for 5 minutes. The brownies will firm up slightly, making them easier to handle. Then, spoon the cream cheese filling on top of each brownie, filling the remaining space in each cup. The filling should sit gently on the brownie base.
Return the tin to the oven and bake for an additional 20 minutes, or until the edges are set but the center still has a slight wobble. The cheesecake layer will appear slightly glossy, and a toothpick inserted near the center should come out with a few moist crumbs.
Remove the mini cheesecakes from the oven and let them cool in the tin for 10 minutes. This allows the filling to set properly and prevents cracking. Then, transfer them to a wire rack to cool completely. The cooling process is crucial for achieving the right texture.
Once cooled, refrigerate the mini cheesecakes for at least 2 hours, preferably overnight. Chilling helps the flavors meld together and gives the dessert a firm, sliceable consistency. If you’re short on time, a quick 30‑minute chill will still yield great results.
Just before serving, top each cheesecake with fresh berries. The acidity of the berries cuts through the richness, adding a bright, refreshing note. Arrange the berries artfully to create a beautiful, Instagram‑ready presentation. Serve immediately, and enjoy the delightful contrast of textures.
That’s it — you did it. But hold on, I've got a few more tricks that'll take this to another level…
Insider Tricks for Flawless Results
The Temperature Rule Nobody Follows
Many bakers bake at a high temperature, but the secret to a perfect mini cheesecake is a lower, steady heat. Baking at 325°F (163°C) ensures the filling sets gently without cracking. I’ve found that a preheated oven is key; if it’s not hot enough, the cheesecakes can sink. Keep the oven door closed to maintain a consistent temperature. This simple tweak saves you from a ruined batch.
Why Your Nose Knows Best
Trust the aroma of the batter as a cue for doneness. When the brownies start to smell like toasted chocolate, they’re ready. The smell of the cheesecake filling will change from sweet to slightly caramelized. If the aroma feels off, let them bake a bit longer. Your nose is a reliable judge of flavor development.
The 5‑Minute Rest That Changes Everything
Letting the mini cheesecakes rest on the tin for 10 minutes before cooling prevents cracking. This short rest allows the heat to dissipate slowly, ensuring a smooth surface. During this time, the cheesecake will also firm up, making it easier to remove from the tin. I’ve seen people skip this step and end up with uneven surfaces.
Use a Water Bath for Extra Moisture
Placing the muffin tin in a shallow pan of water during baking adds humidity, keeping the cheesecakes moist. The water bath also helps the batter spread evenly, preventing dry spots. Make sure the water level is low enough that it doesn’t touch the bottom of the tin. This trick is especially useful in dry climates.
Freeze for a Party‑Ready Option
If you’re planning a large gathering, you can freeze the mini cheesecakes for up to a month. Freeze them individually on a parchment sheet, then transfer to a freezer bag. When ready to serve, let them thaw at room temperature for 30 minutes. This keeps the texture intact and saves you from last‑minute baking.
Serve with a Whipped Cream Twist
Whipped cream adds a light, airy contrast to the dense cheesecake. Whip the cream with a pinch of powdered sugar and a splash of vanilla. Dollop it on top of each mini cheesecake, then add a berry for a pop of color. This extra step elevates the dessert to a gourmet level.
Creative Twists and Variations
This recipe is a playground. Here are some of my favorite ways to switch things up:
Espresso‑Infused Brownie Base
Add a tablespoon of espresso powder to the brownie batter to give the chocolate a deep, coffee‑rich flavor. The espresso enhances the chocolate’s bitterness, creating a more complex profile that pairs perfectly with the creamy filling.
Mint Chocolate Chip Mini Cheesecake
Swirl a teaspoon of mint extract into the batter and sprinkle mint chocolate chips on top of the cheesecake layer. The mint adds a refreshing contrast, and the chocolate chips provide a delightful crunch.
Caramel Swirl Variation
Drizzle a thin line of caramel sauce over the brownie base before adding the filling. The caramel adds a sweet, buttery note that complements the chocolate and cream cheese.
Raspberry Cheesecake Delight
Replace the fresh berries with a layer of raspberry jam between the brownie and cheesecake. The jam adds a tangy burst that cuts through the richness.
Almond Crunch Topping
Top each mini cheesecake with crushed almonds and a dusting of powdered sugar. The almonds add a nutty crunch and a subtle flavor that enhances the overall taste.
Vegan Version
Use a vegan chocolate brownie mix and replace the cream cheese with a tofu‑based cheesecake filling. This version maintains the same flavor profile while being completely plant‑based.
Storing and Bringing It Back to Life
Fridge Storage
Store the mini cheesecakes in an airtight container in the refrigerator for up to 3 days. Keep them on a single layer to avoid crushing the delicate structure. The chilled environment preserves the texture and prevents the batter from drying out.
Freezer Friendly
Freeze the mini cheesecakes individually on a parchment sheet, then transfer to a freezer bag. They’ll keep for up to 1 month. When you’re ready to serve, let them thaw at room temperature for 30 minutes.
Best Reheating Method
Reheat the mini cheesecakes in a preheated oven at 300°F (149°C) for 5 minutes, or until warmed through. Add a tiny splash of water to the bottom of the baking sheet to create steam, which keeps the cheesecake moist and prevents it from drying out.